Ingredients for cake:
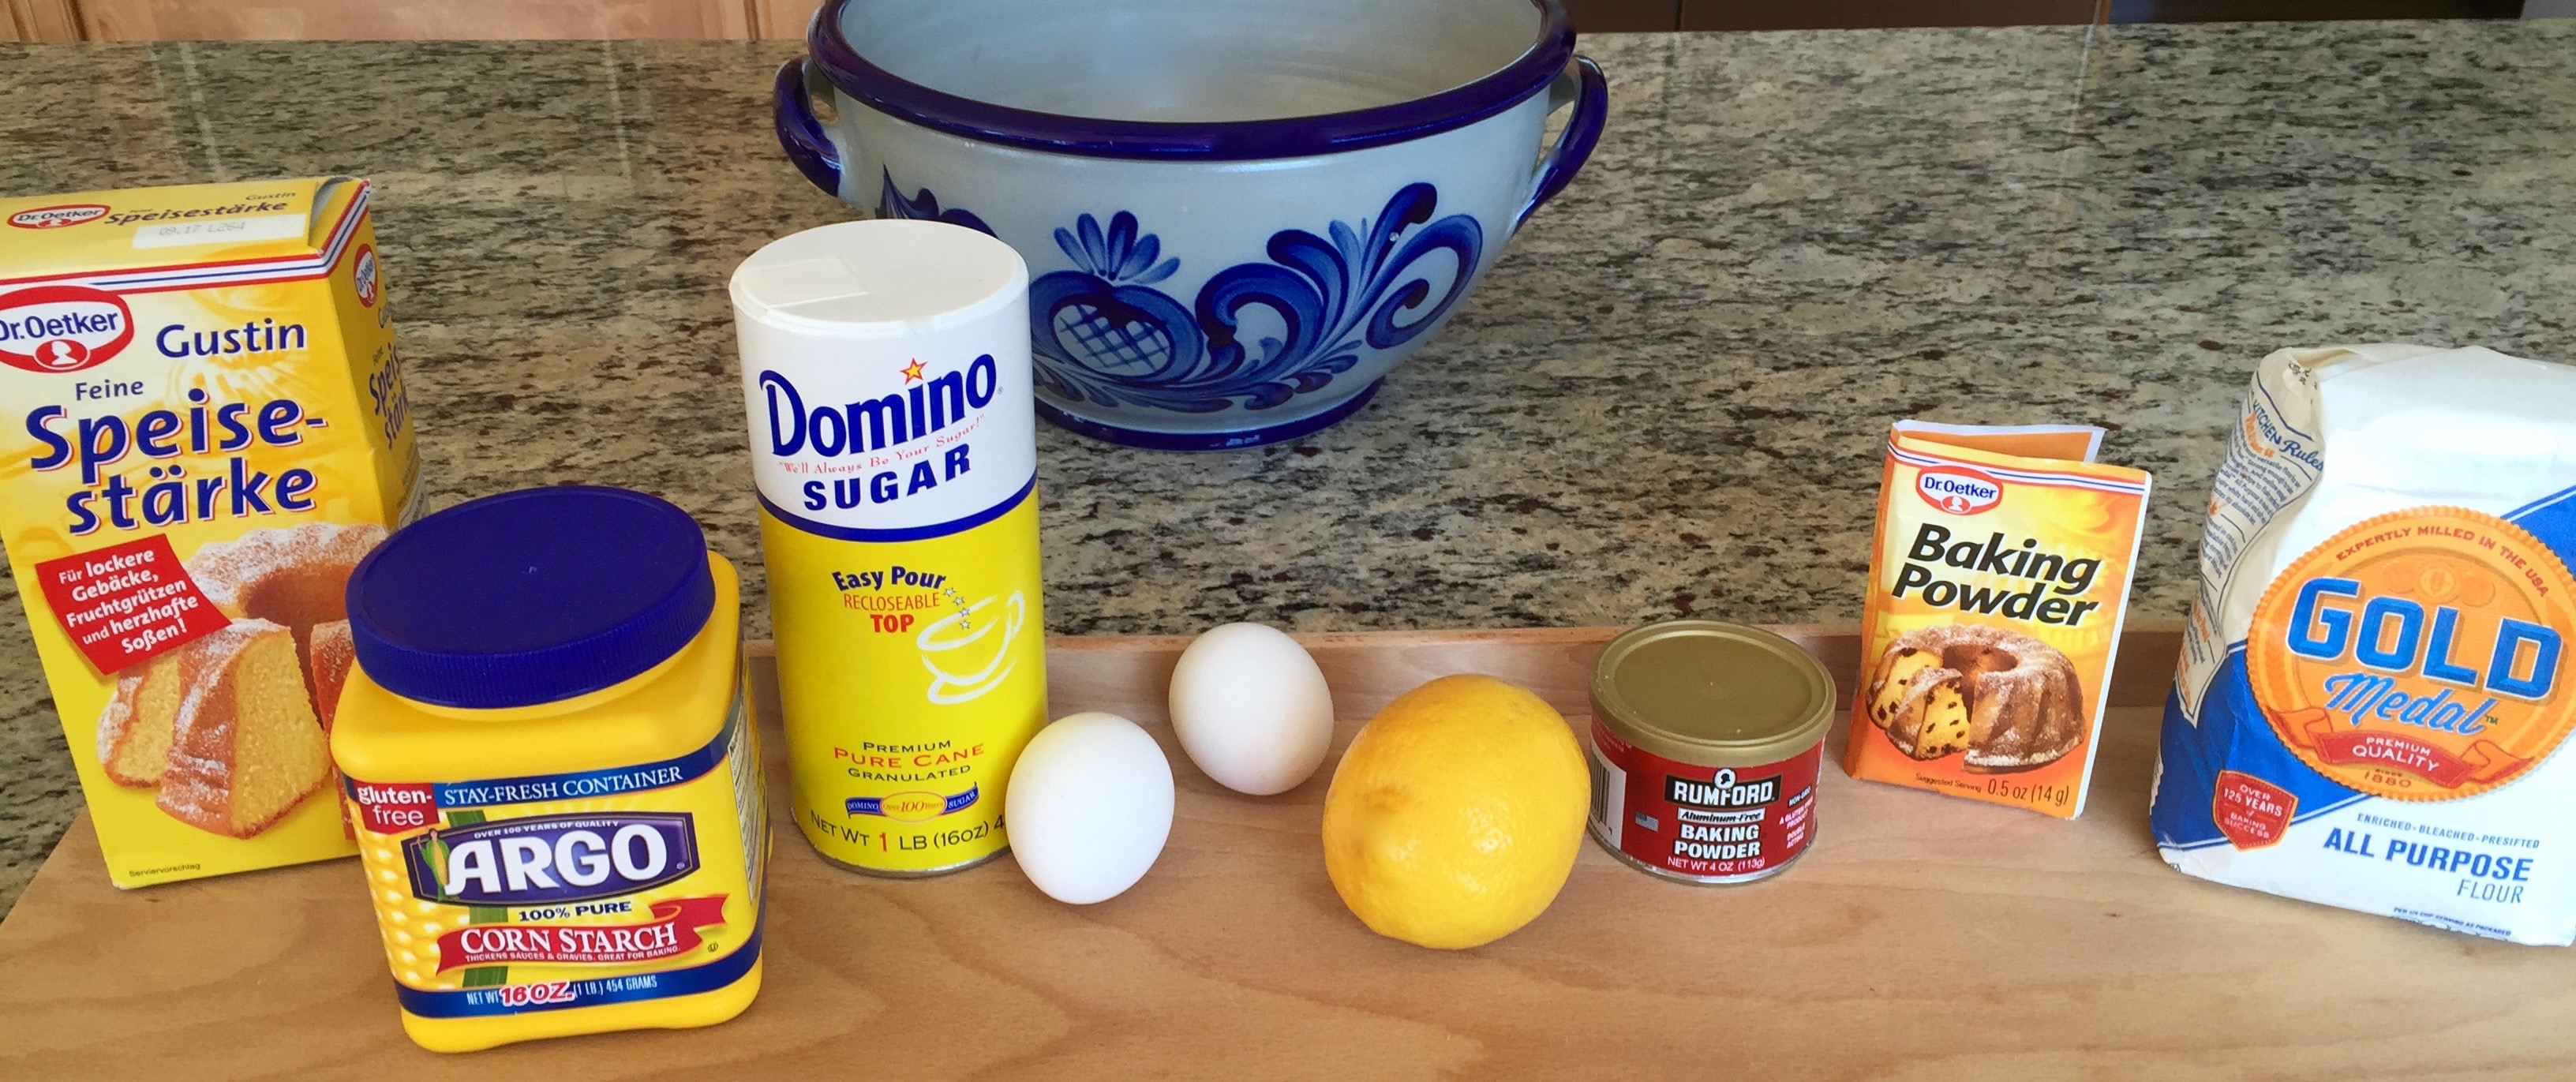
- 4 extra large eggs
- 4 tablespoons of hot water
- 150 g (5.29 oz) of sugar
- 1 package of Dr. Oetker Vanilla Sugar (OR) 5 drops of vanilla extract
- 100 g (3.52 oz) of all-purpose flour
- 100 g (3.52 oz) of Dr. Oetker Gustin (OR) corn starch
- 1 package of Dr. Oetker Baking Powder (OR) 3 teaspoons of baking powder
Preparation for the batter:
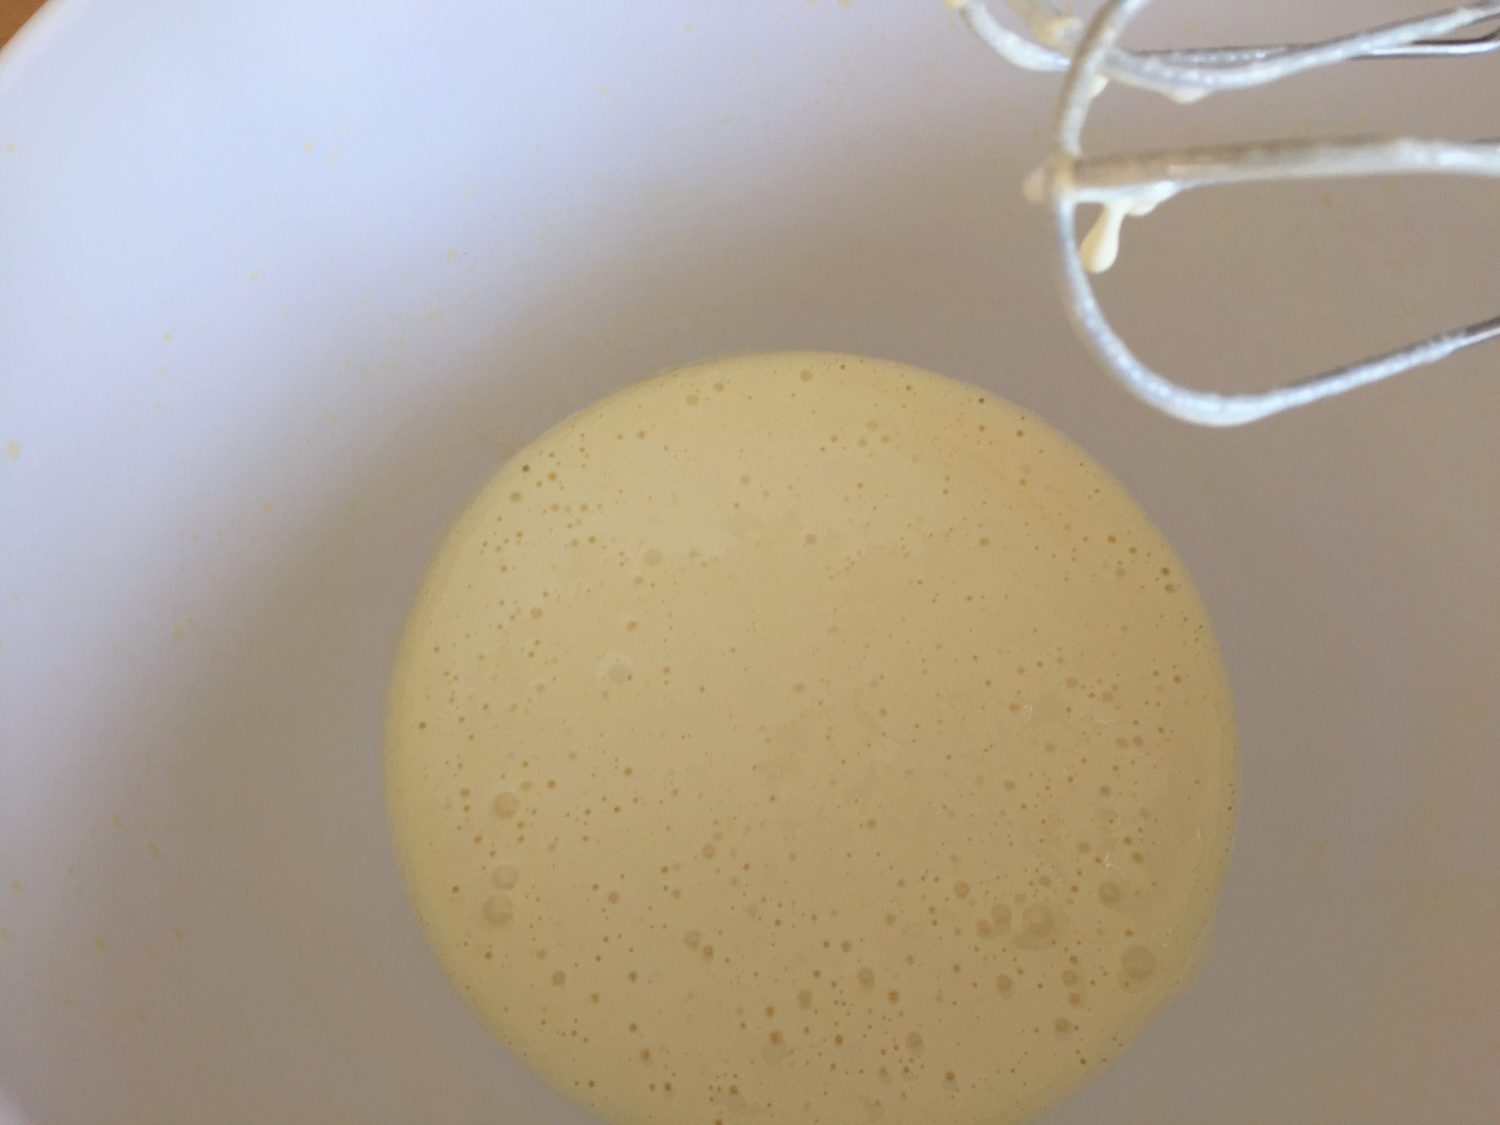
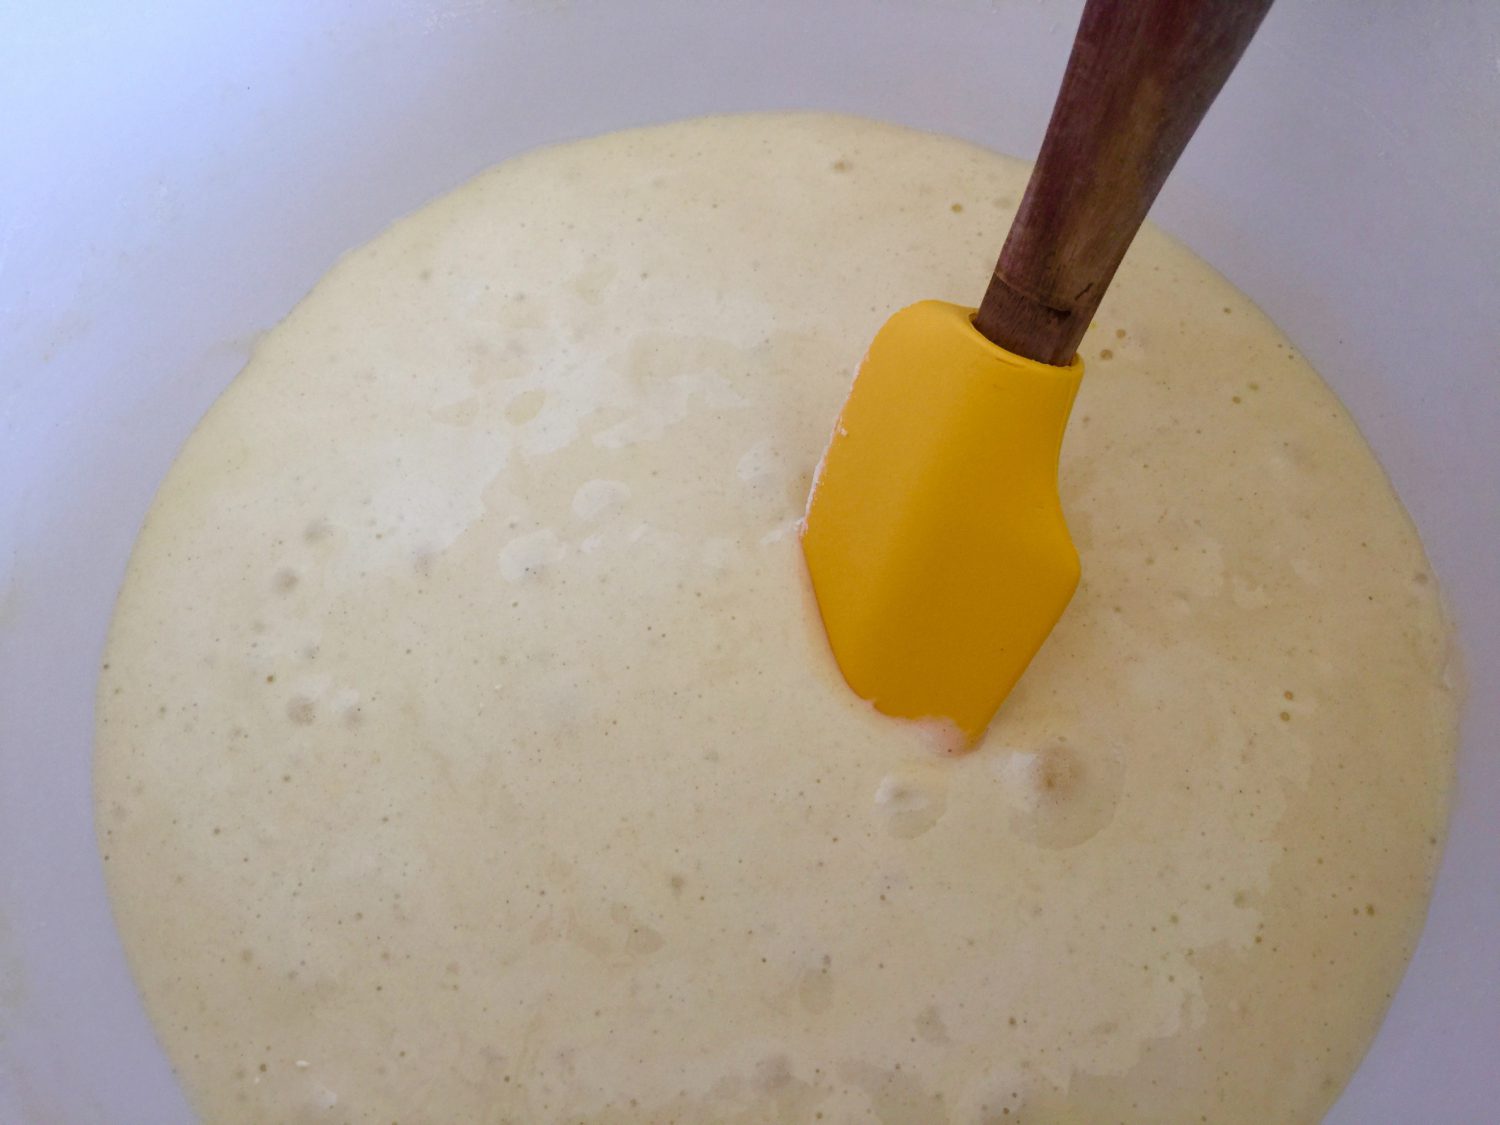
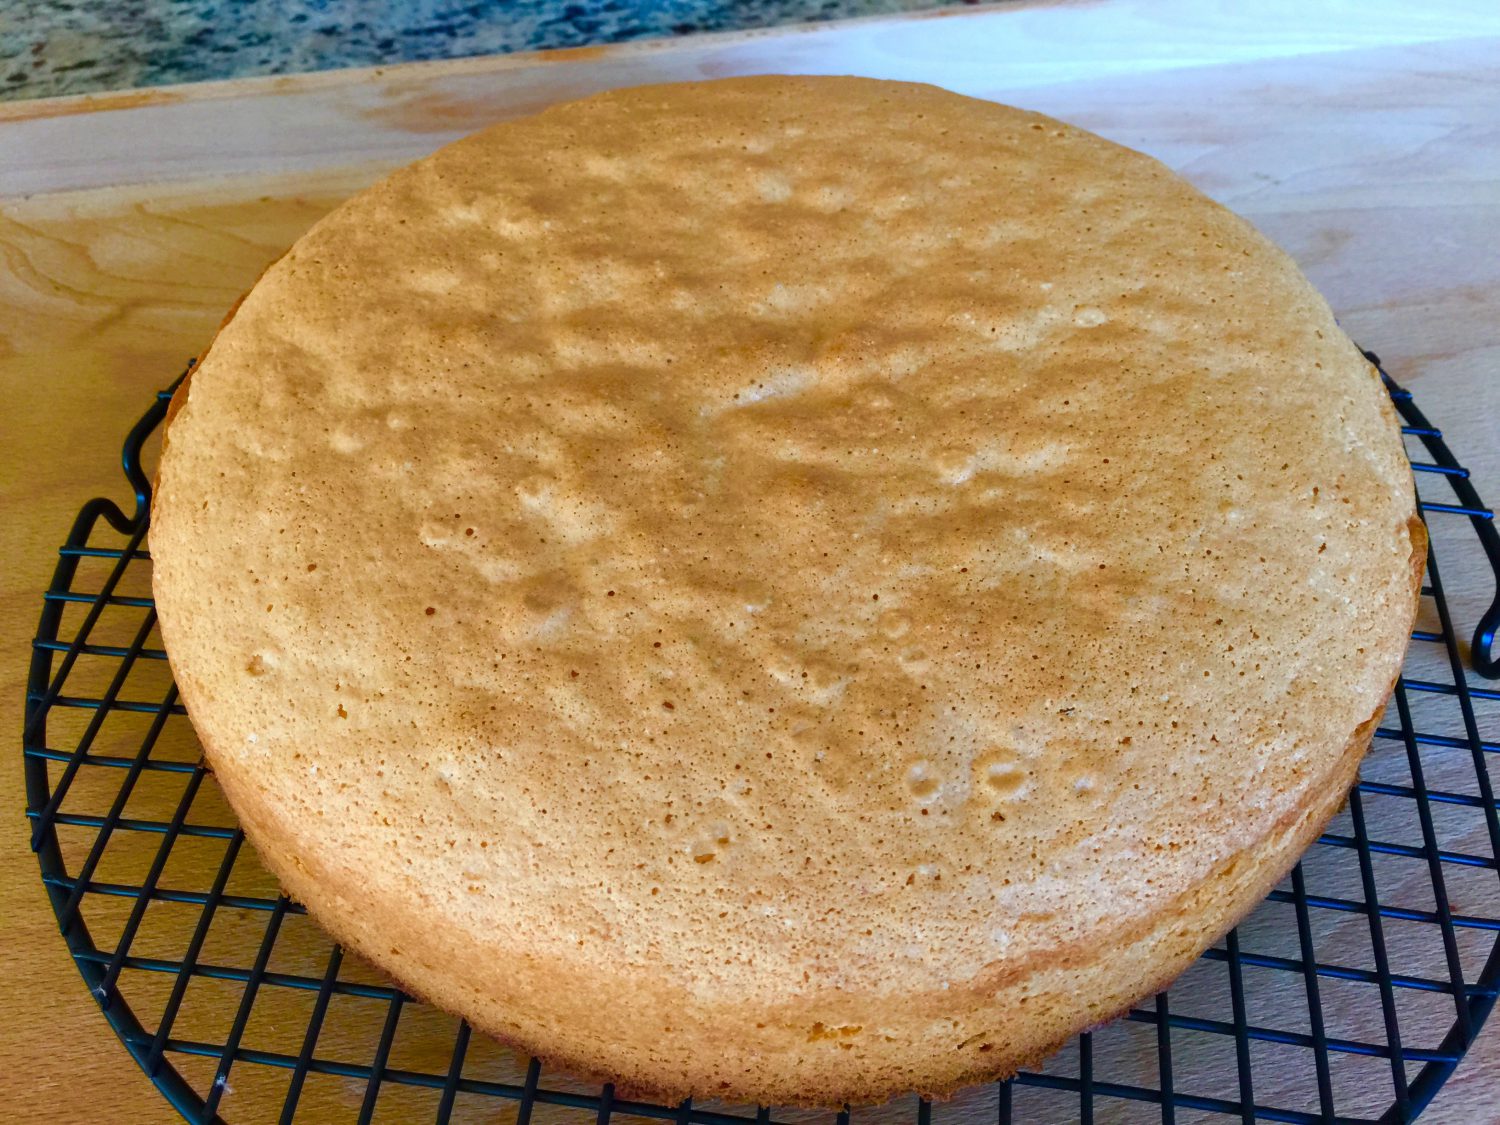
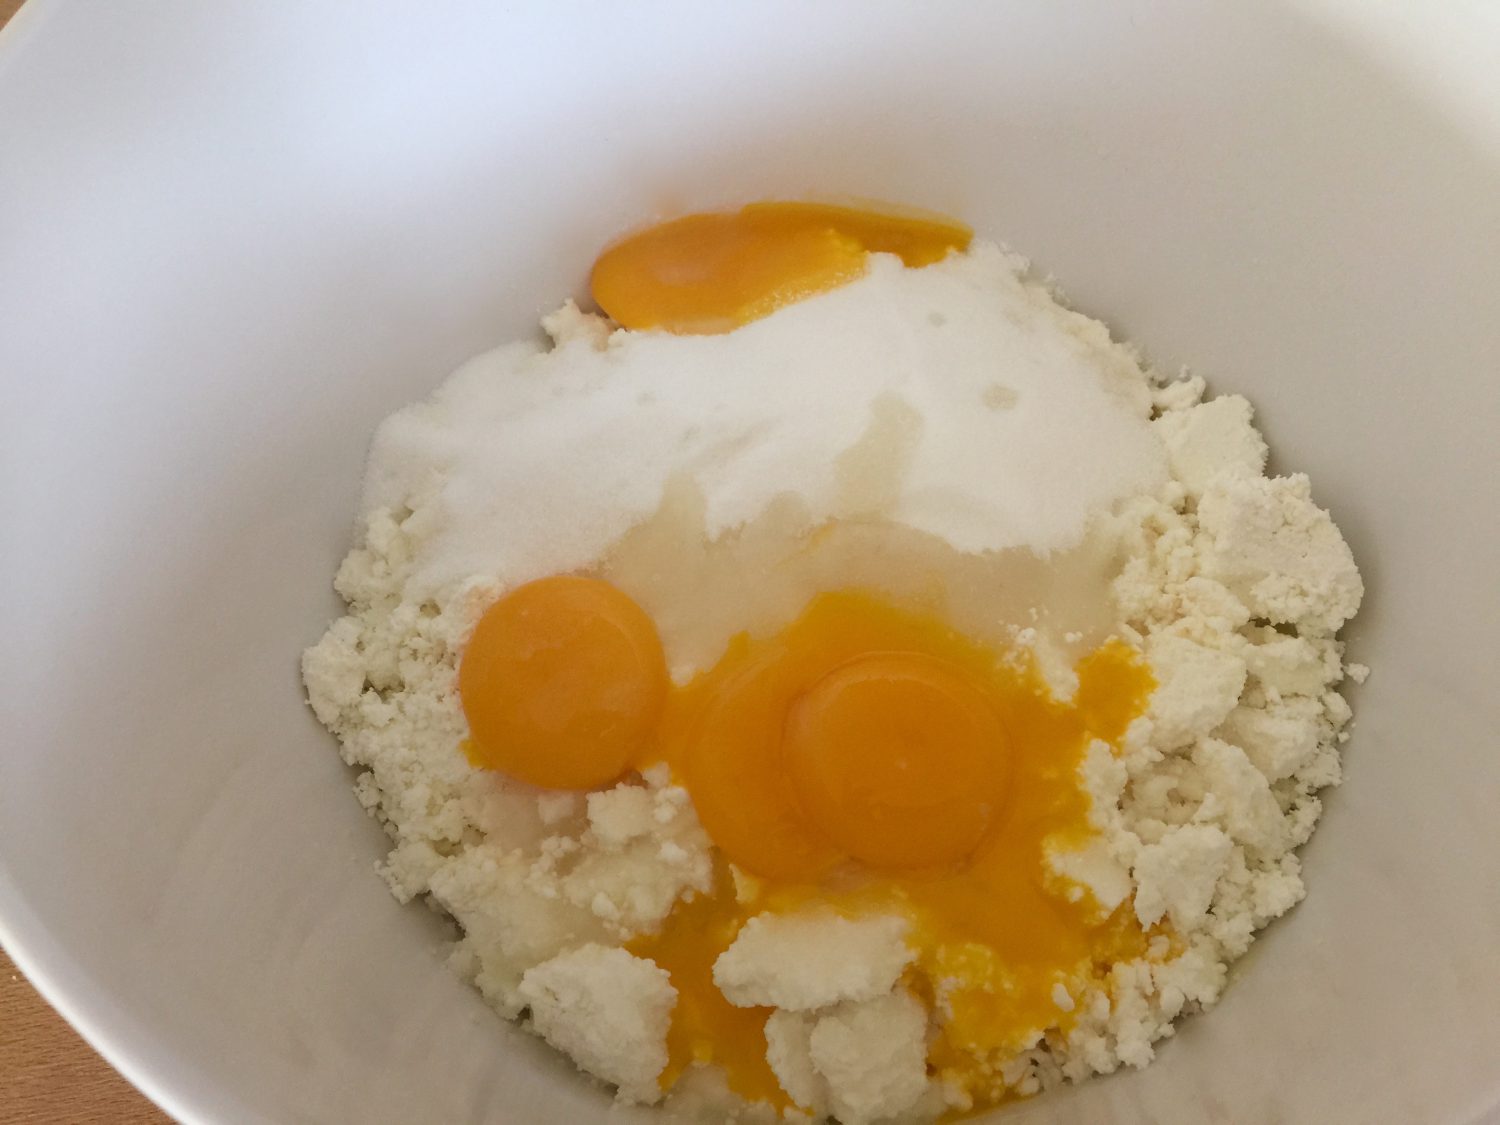
Separate the egg yolks with an egg separator. Use a handheld mixer to beat the egg yolks and hot water until frothy. Add in the sugar and vanilla sugar (or vanilla extract) and mix until creamy. In a separate bowl, mix the flour, corn starch, and baking powder. Sift it over the egg cream.
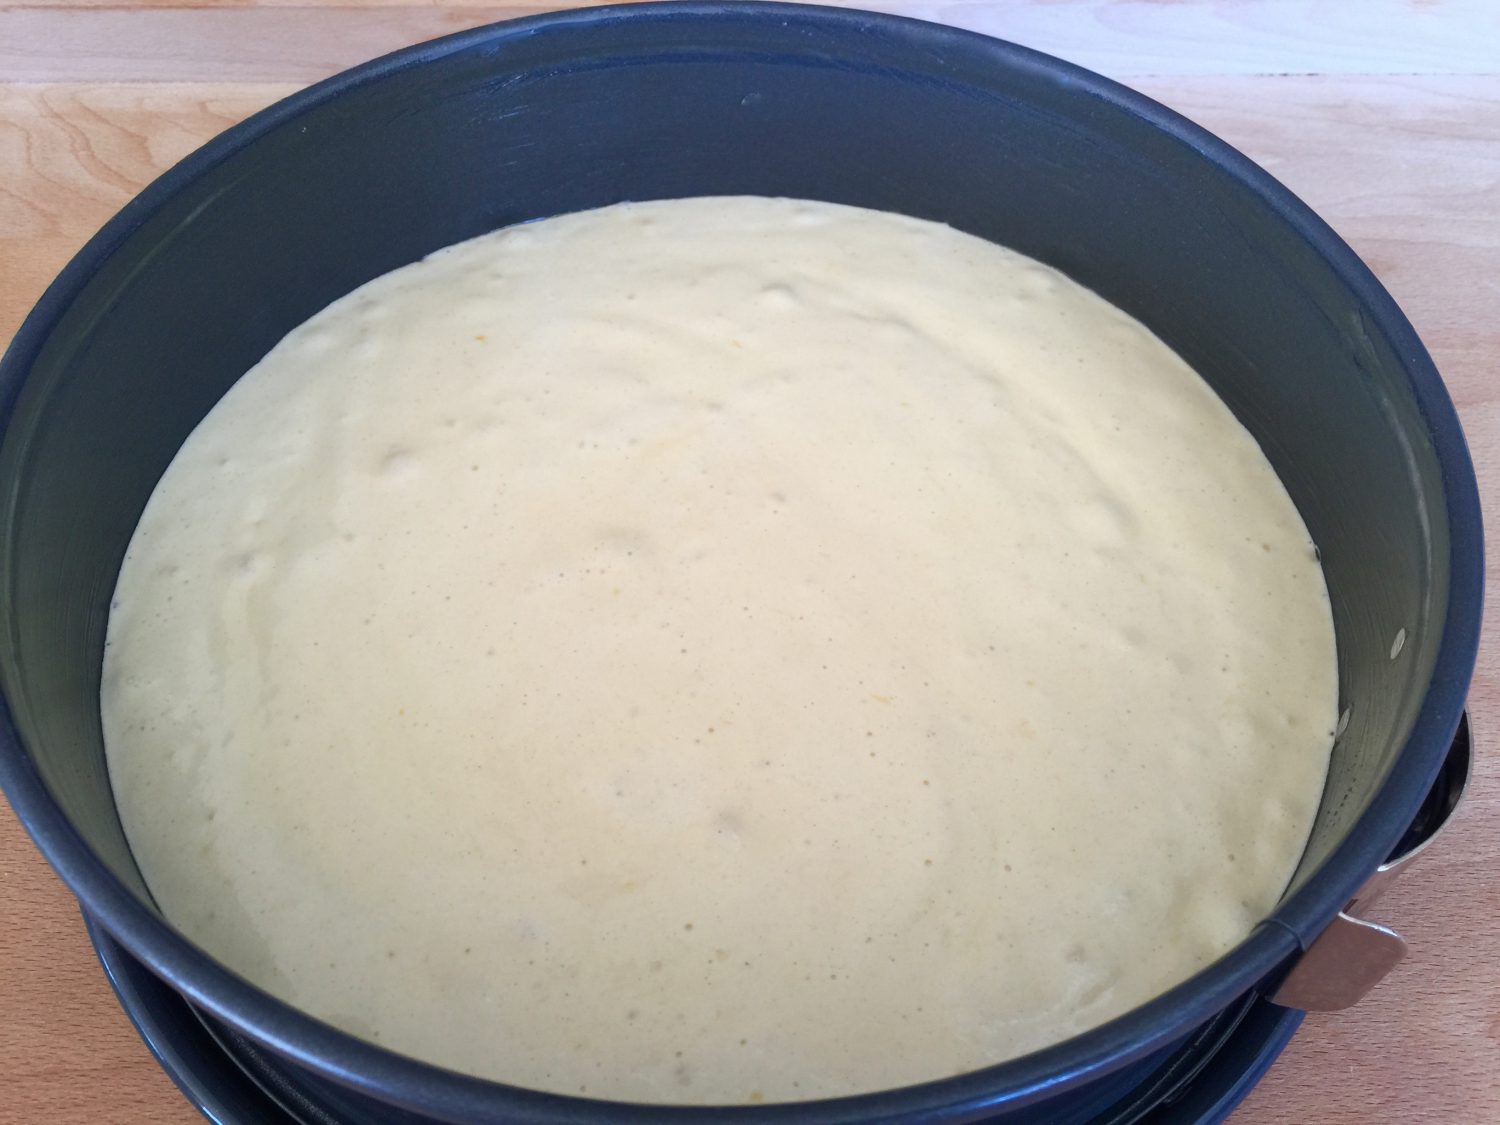
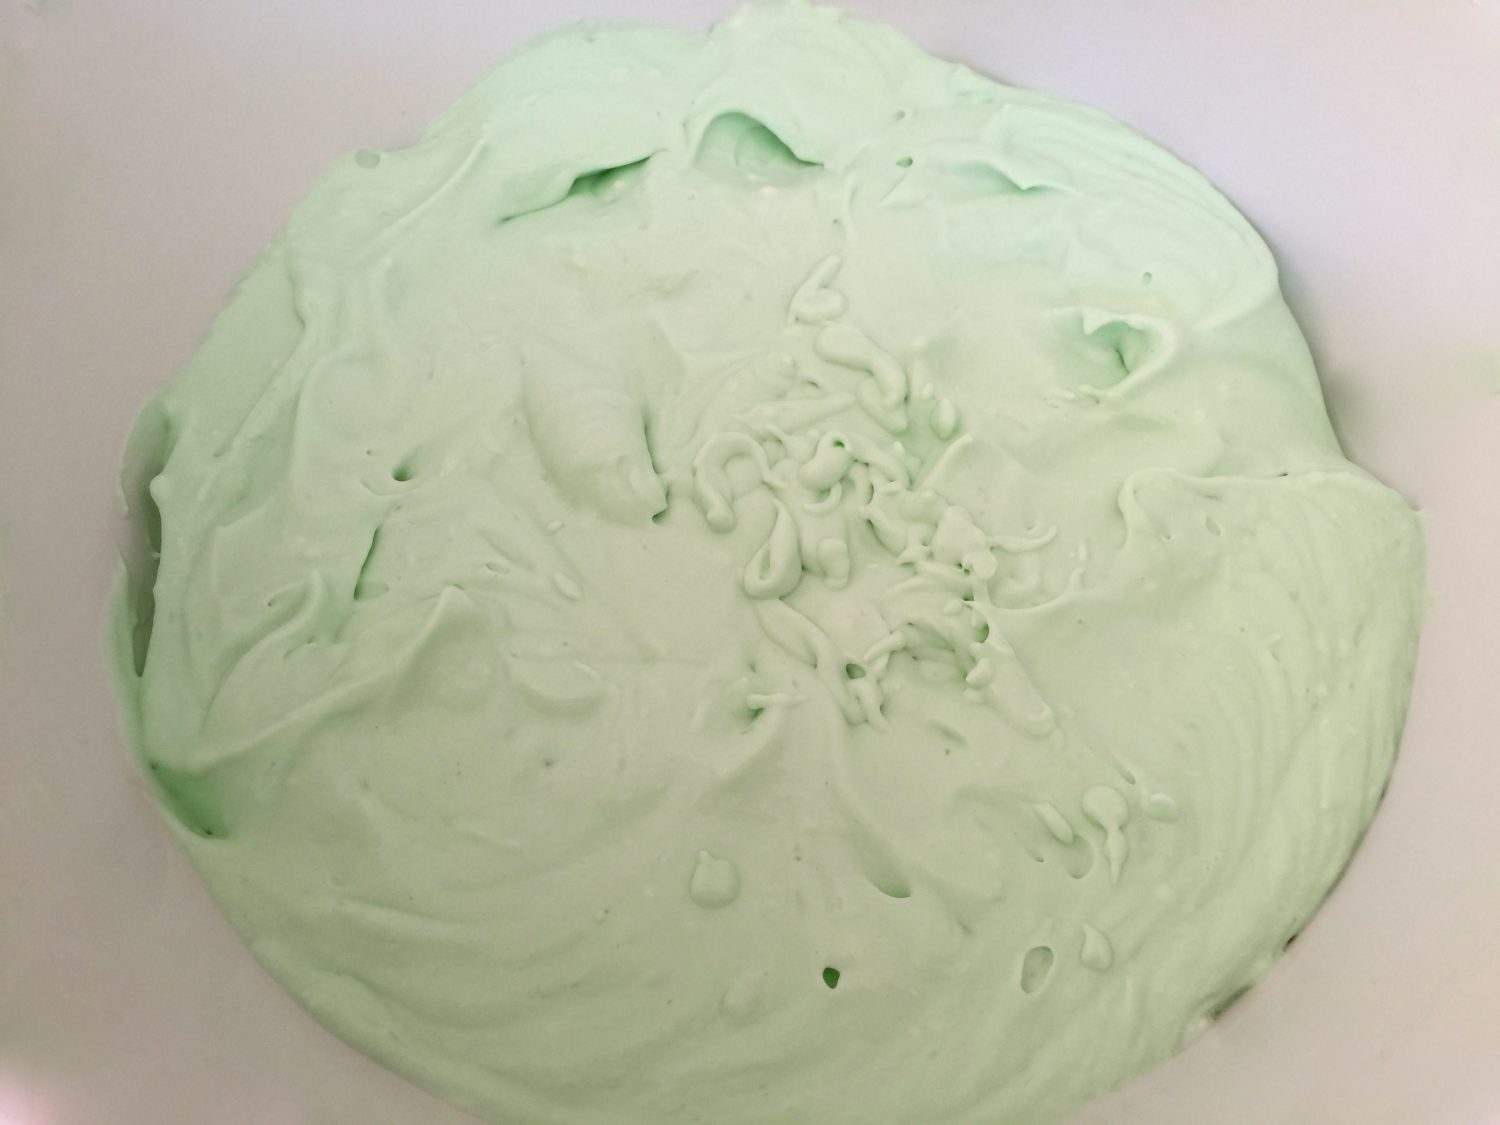
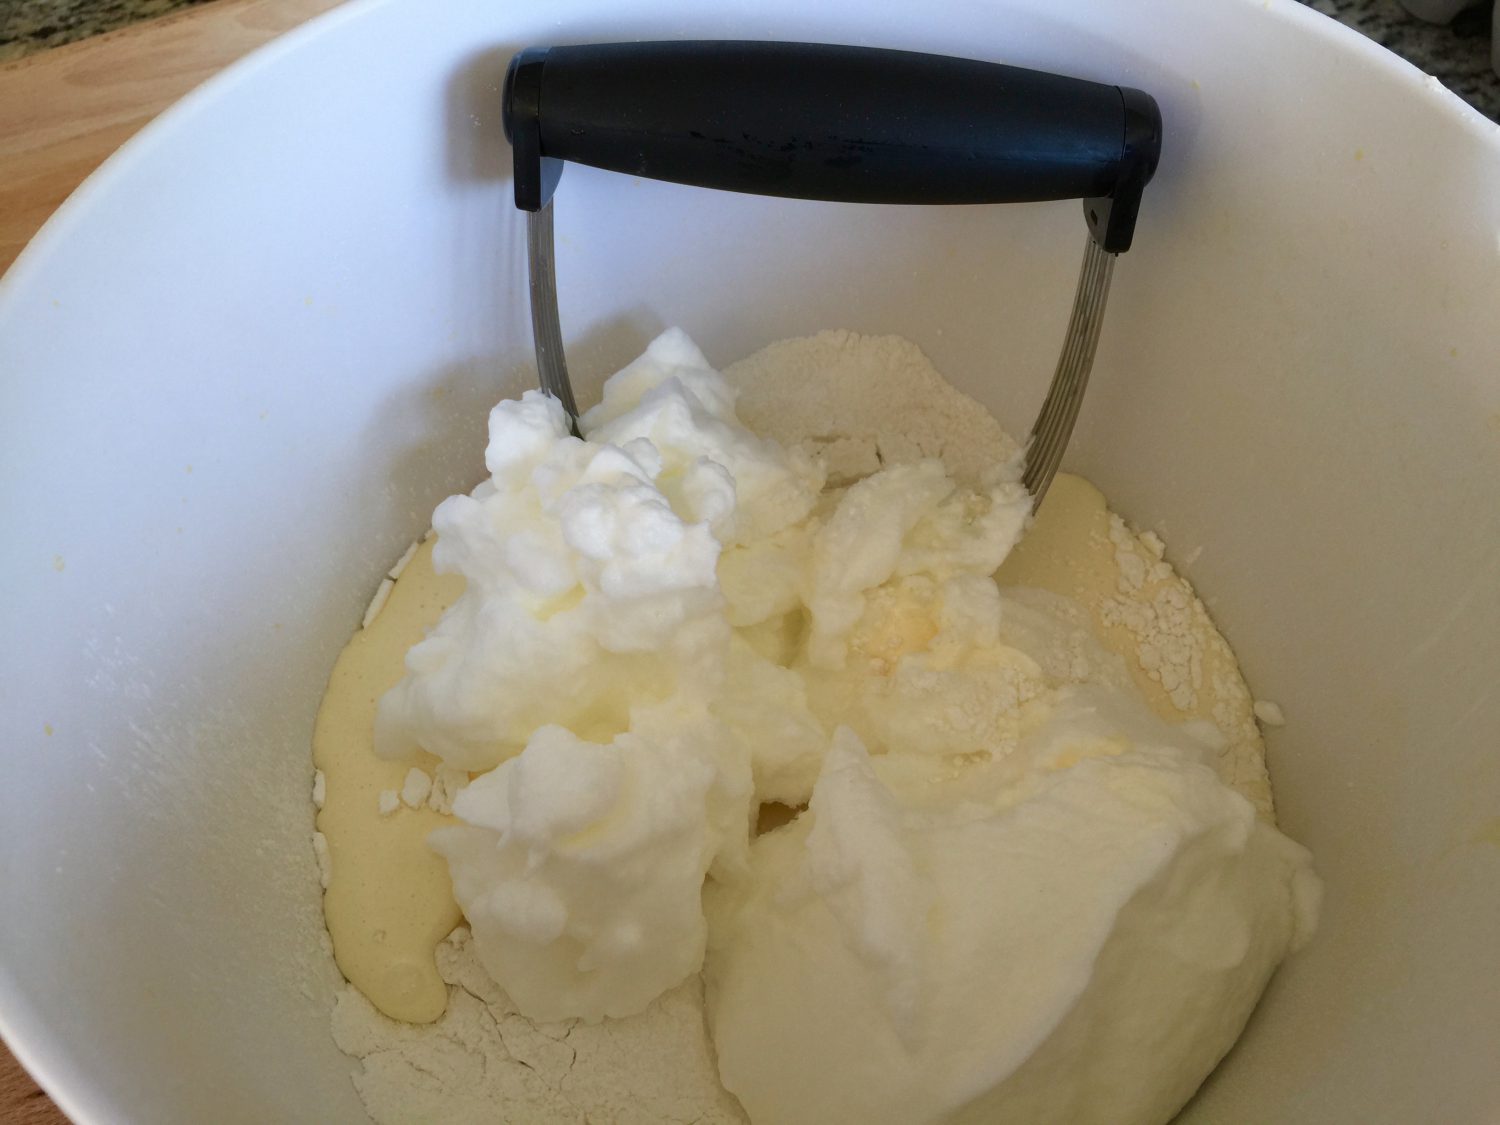
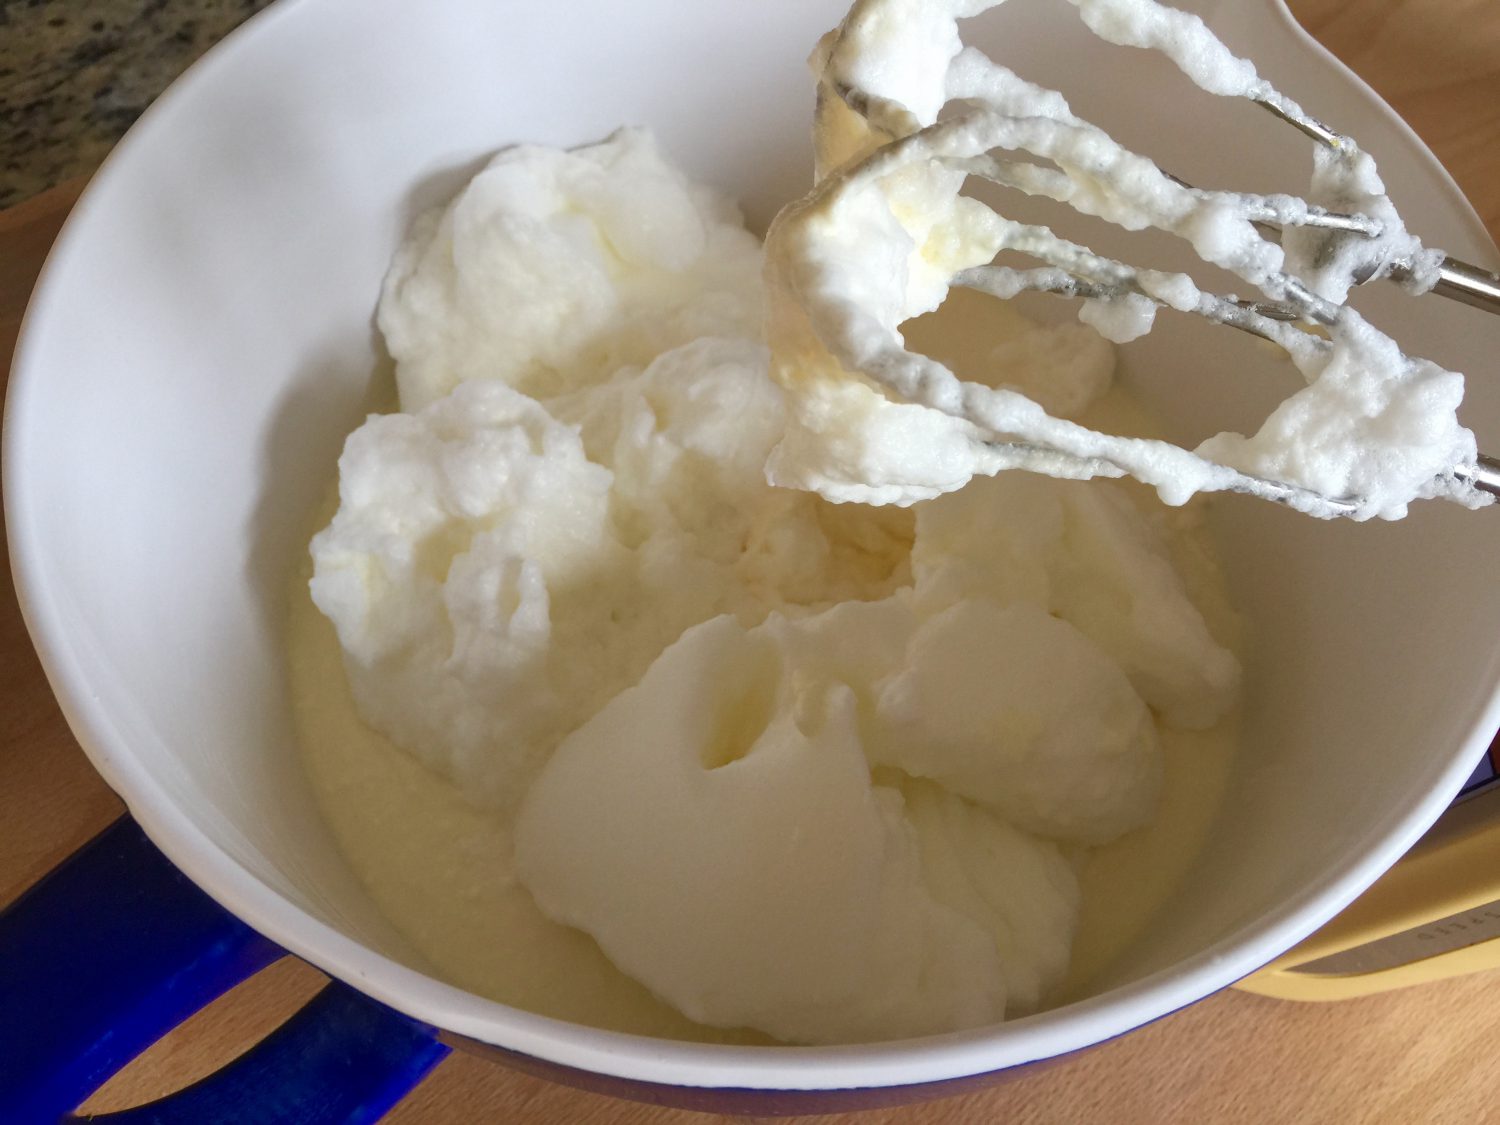
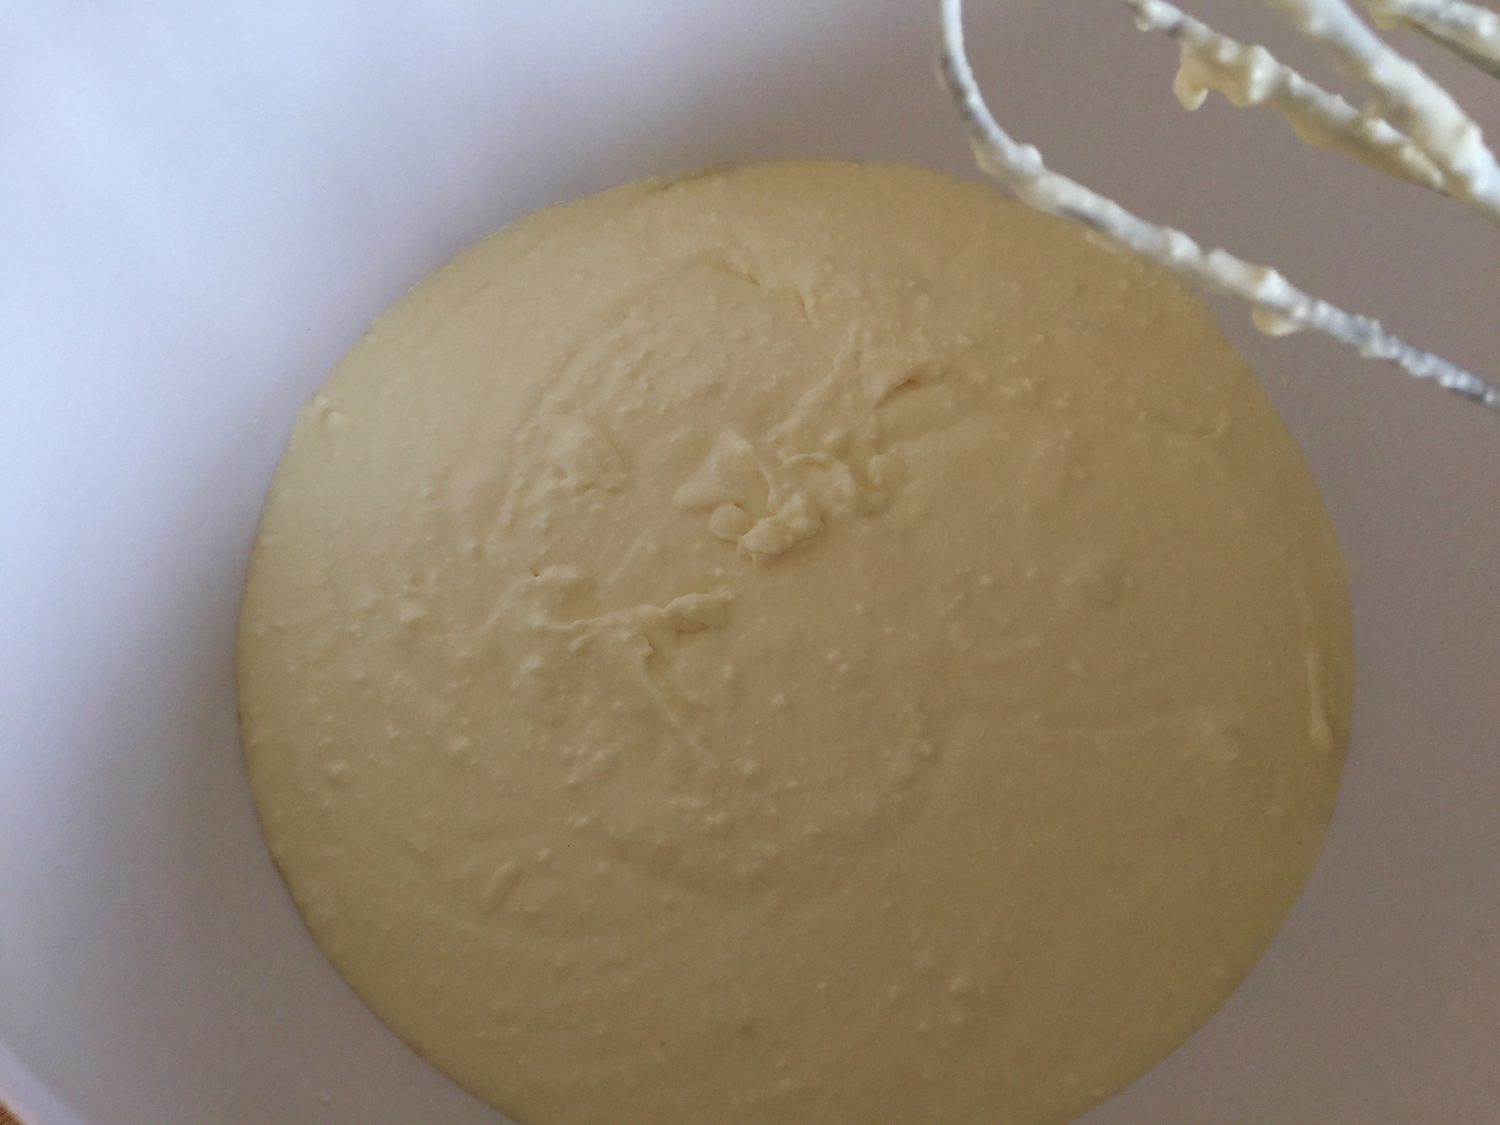
Beat the egg whites with the handheld mixer until stiff. Add it to the top of the other ingredients. Use a wired pastry blender to mix the ingredients while lifting them up from the outside of the bowl to the center. Do not stir!
[Click pictures to enlarge.]


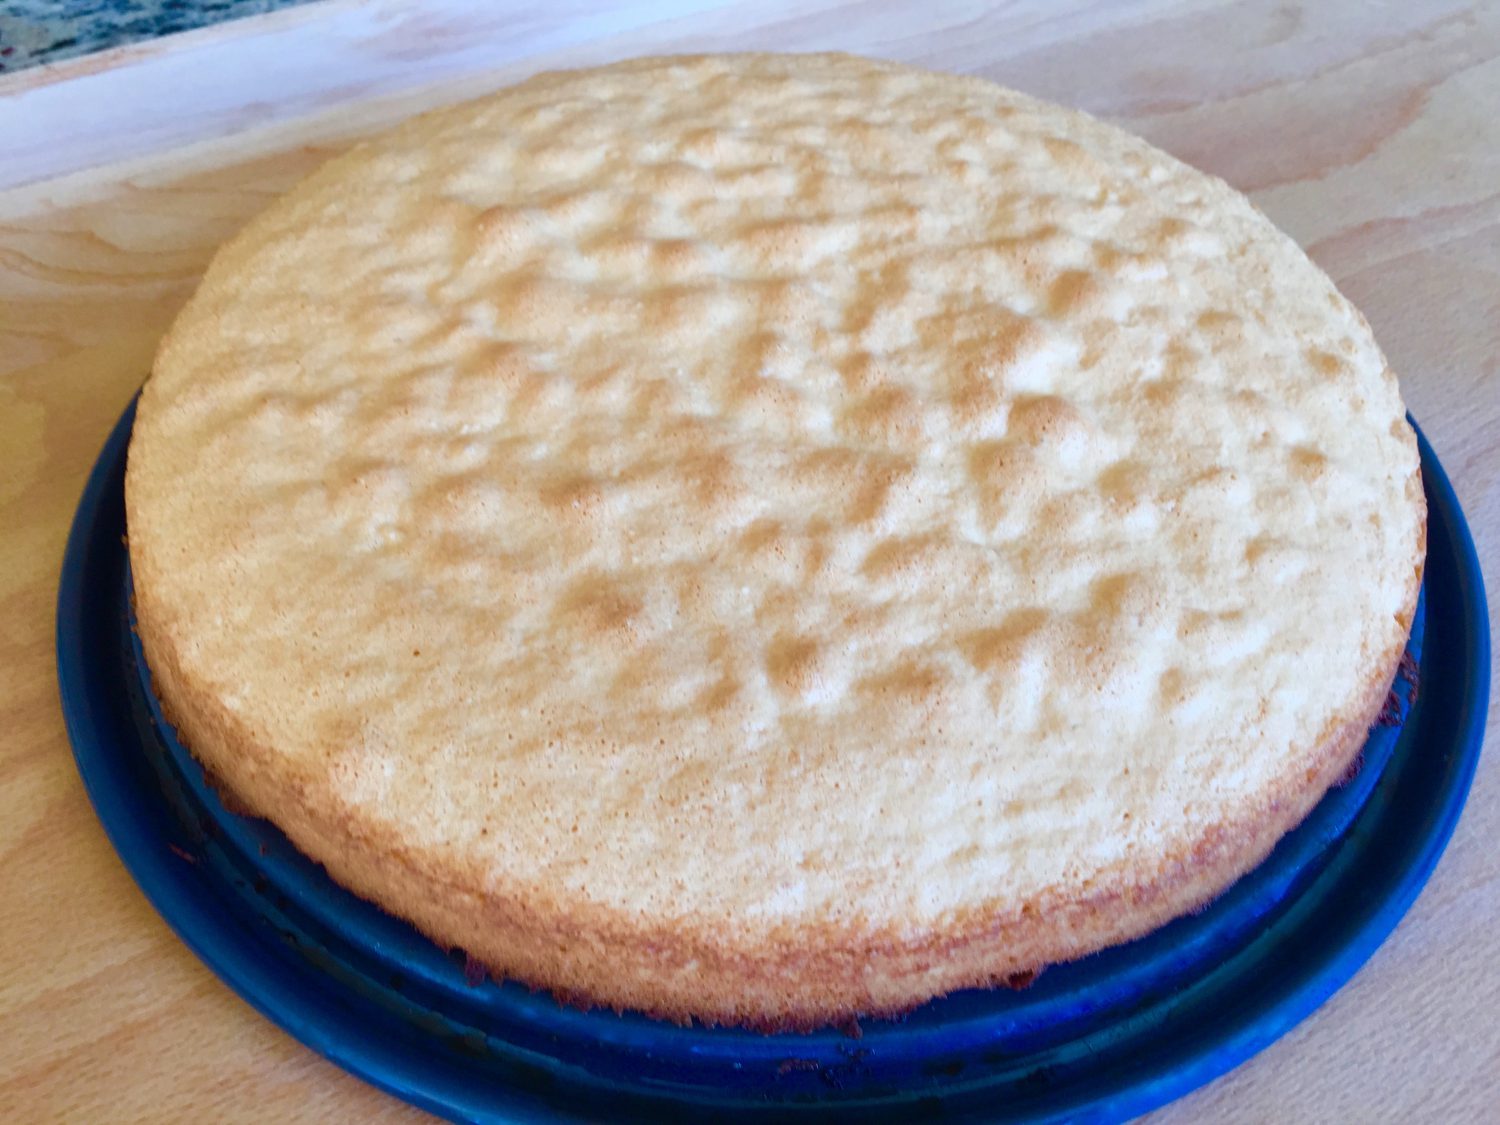
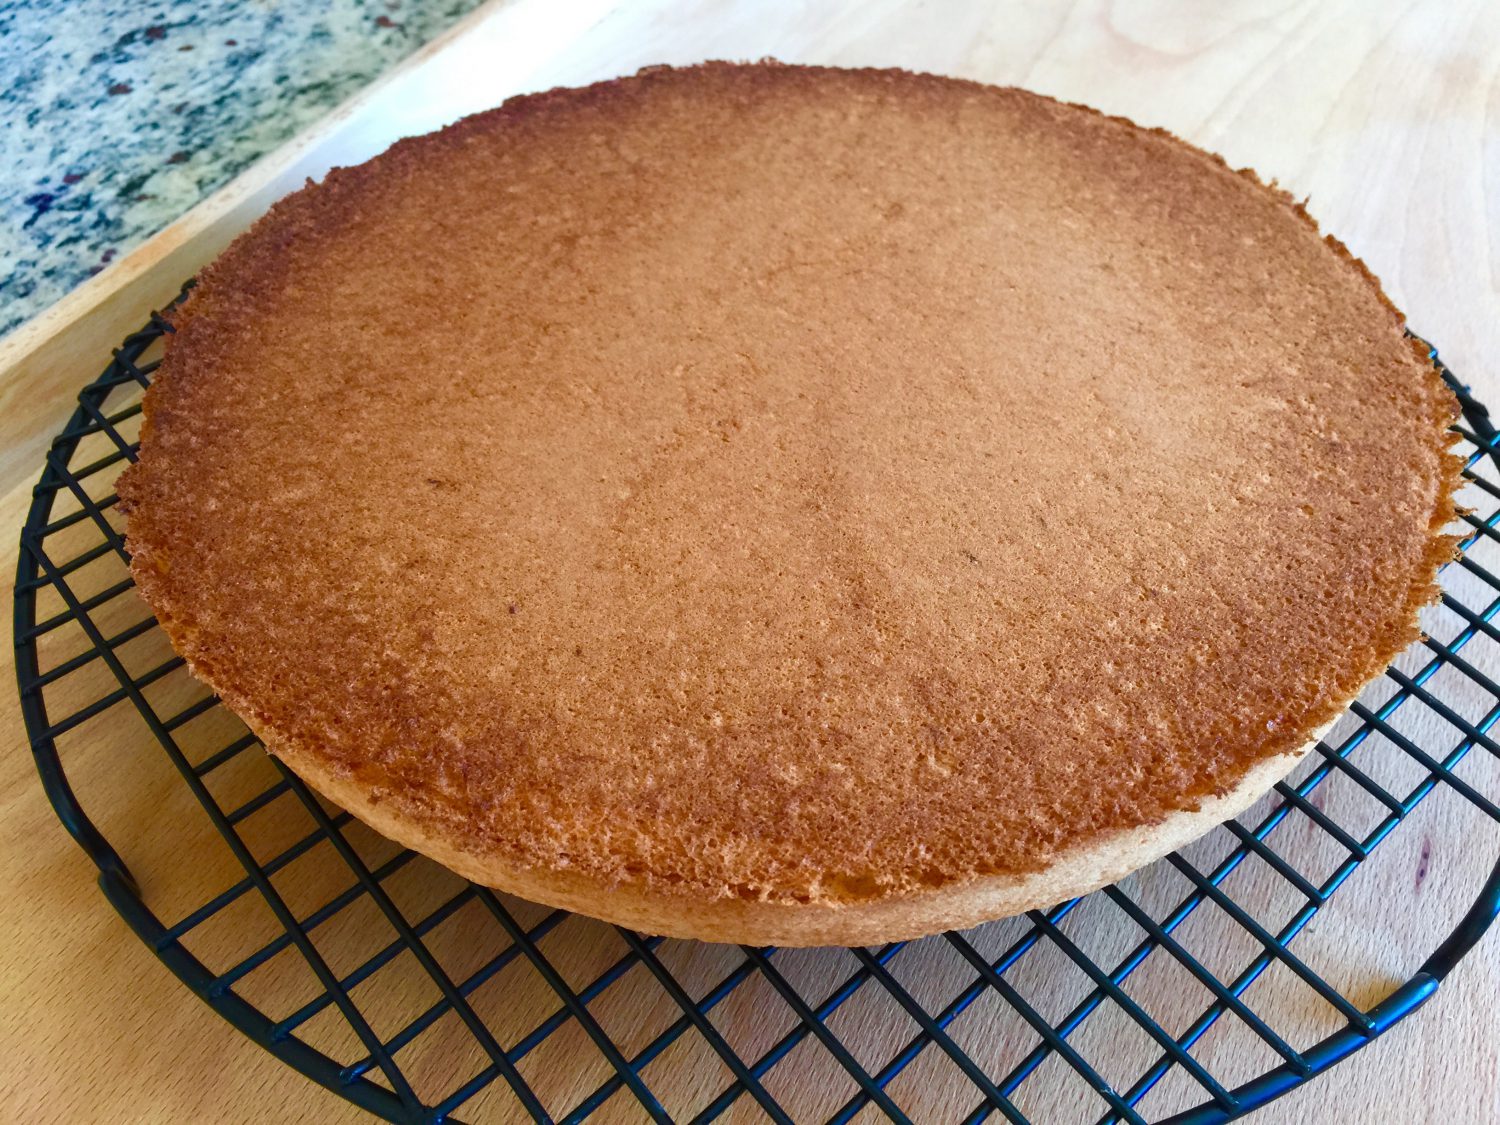
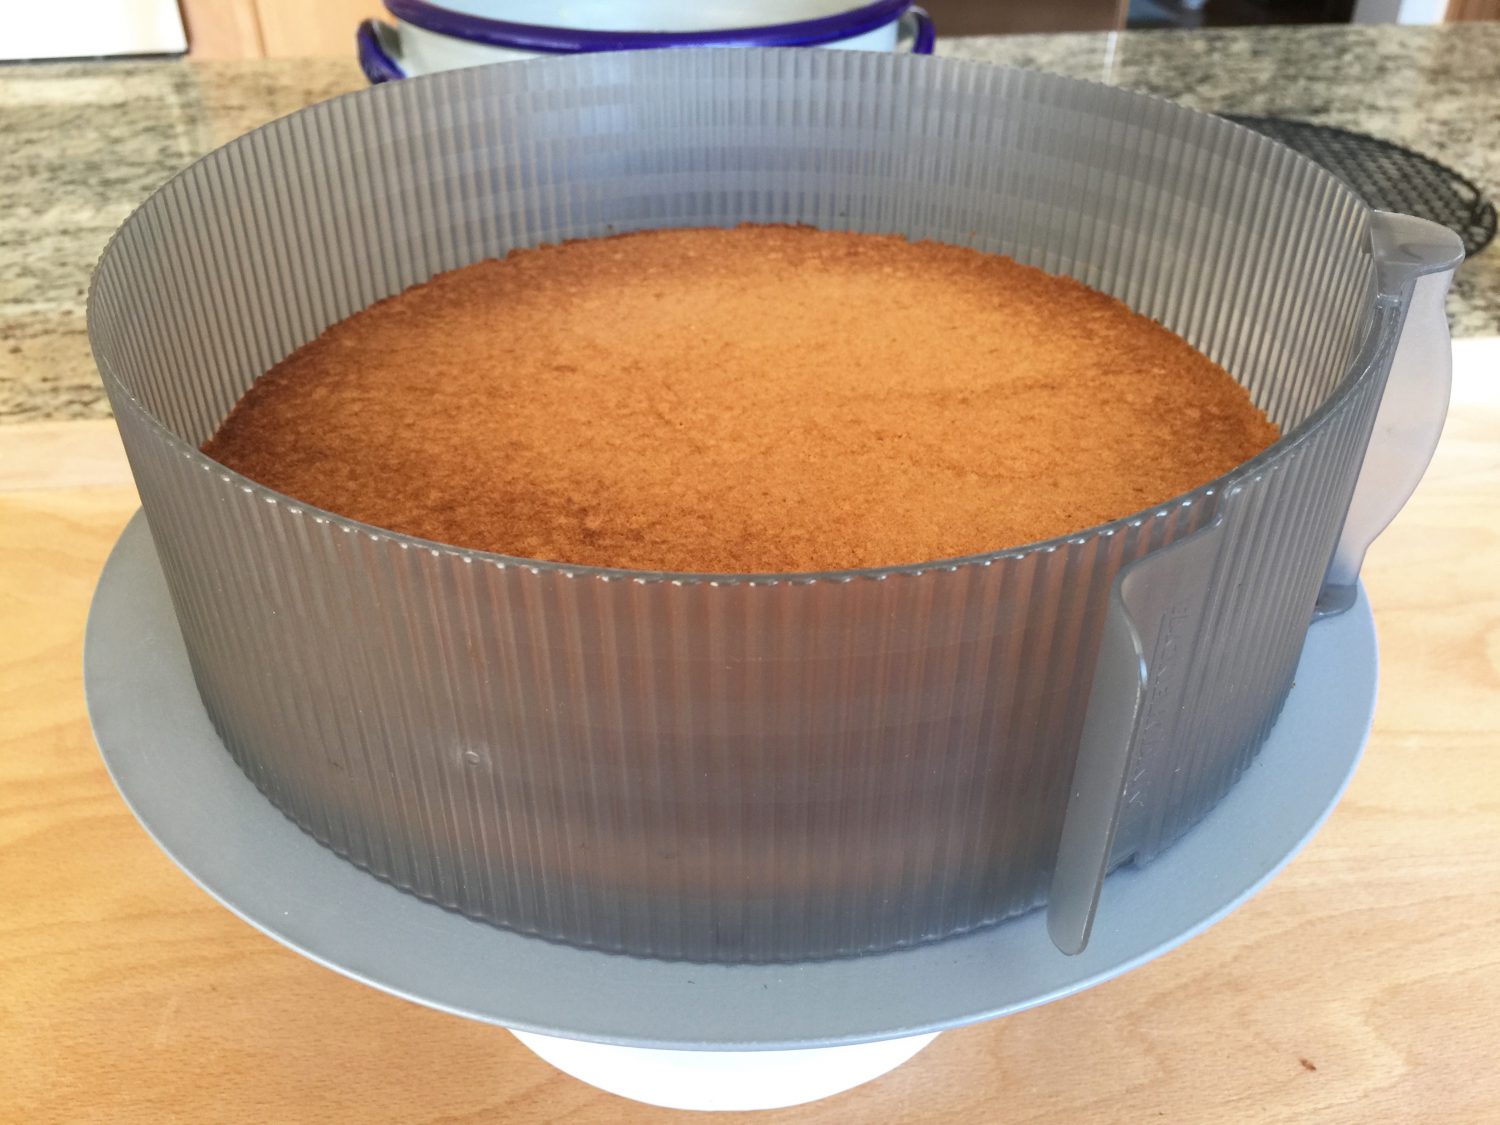
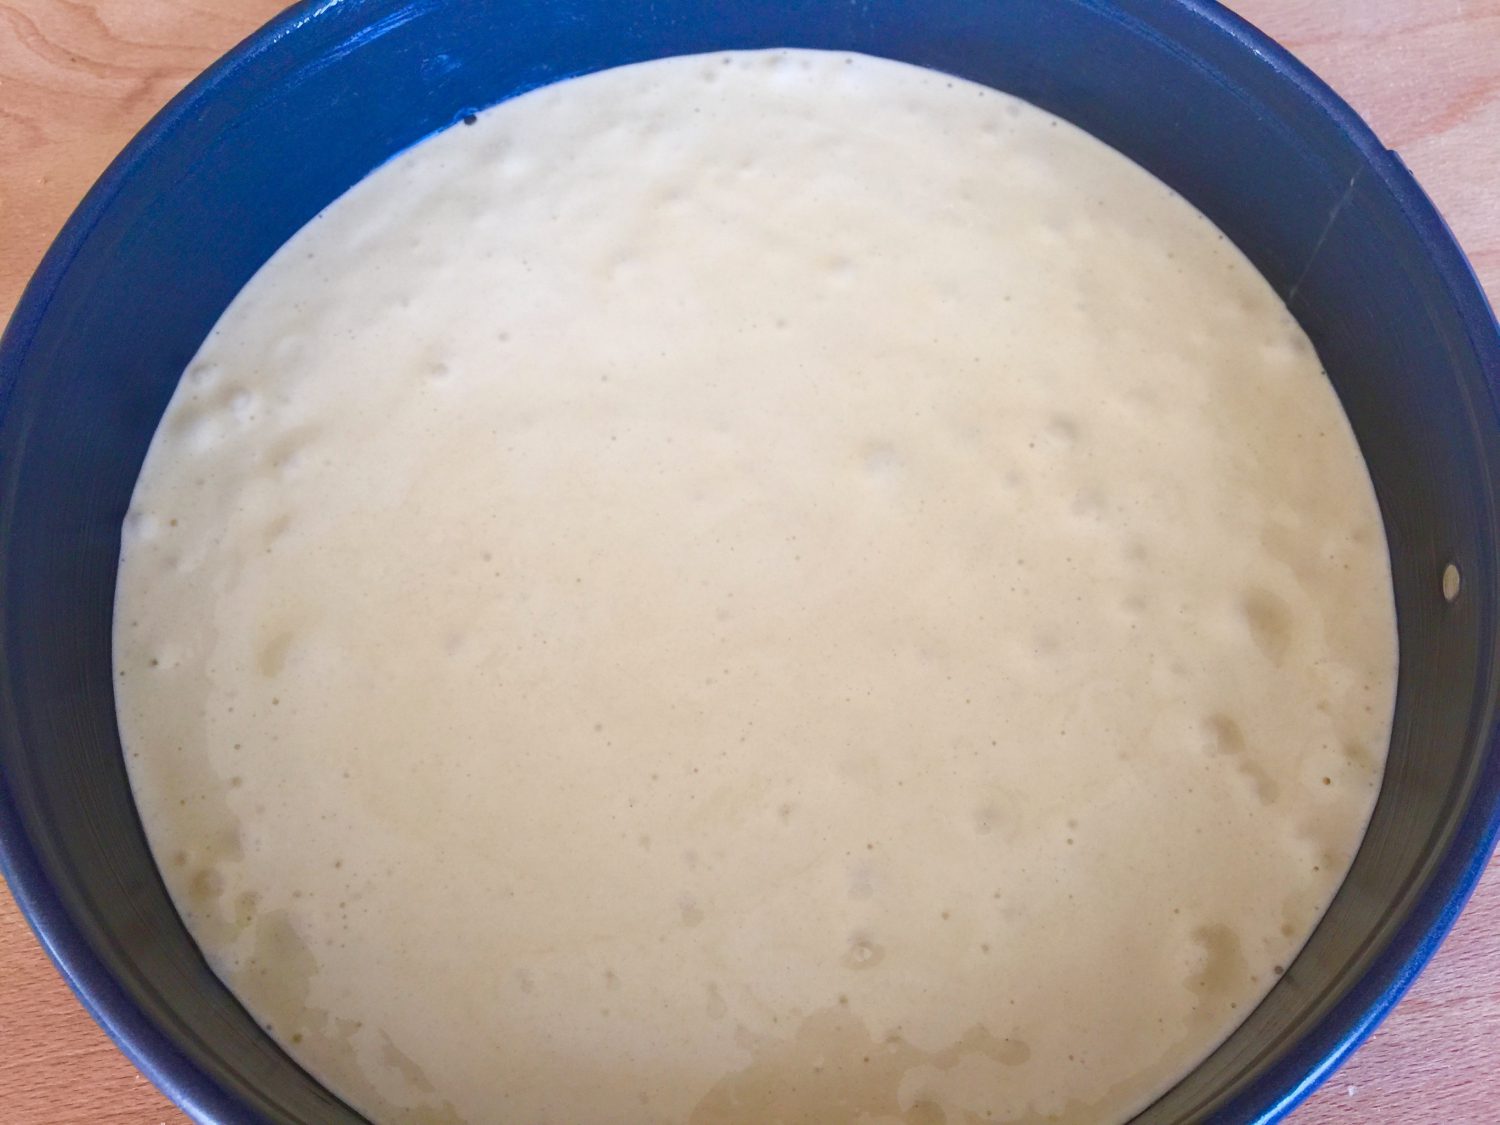
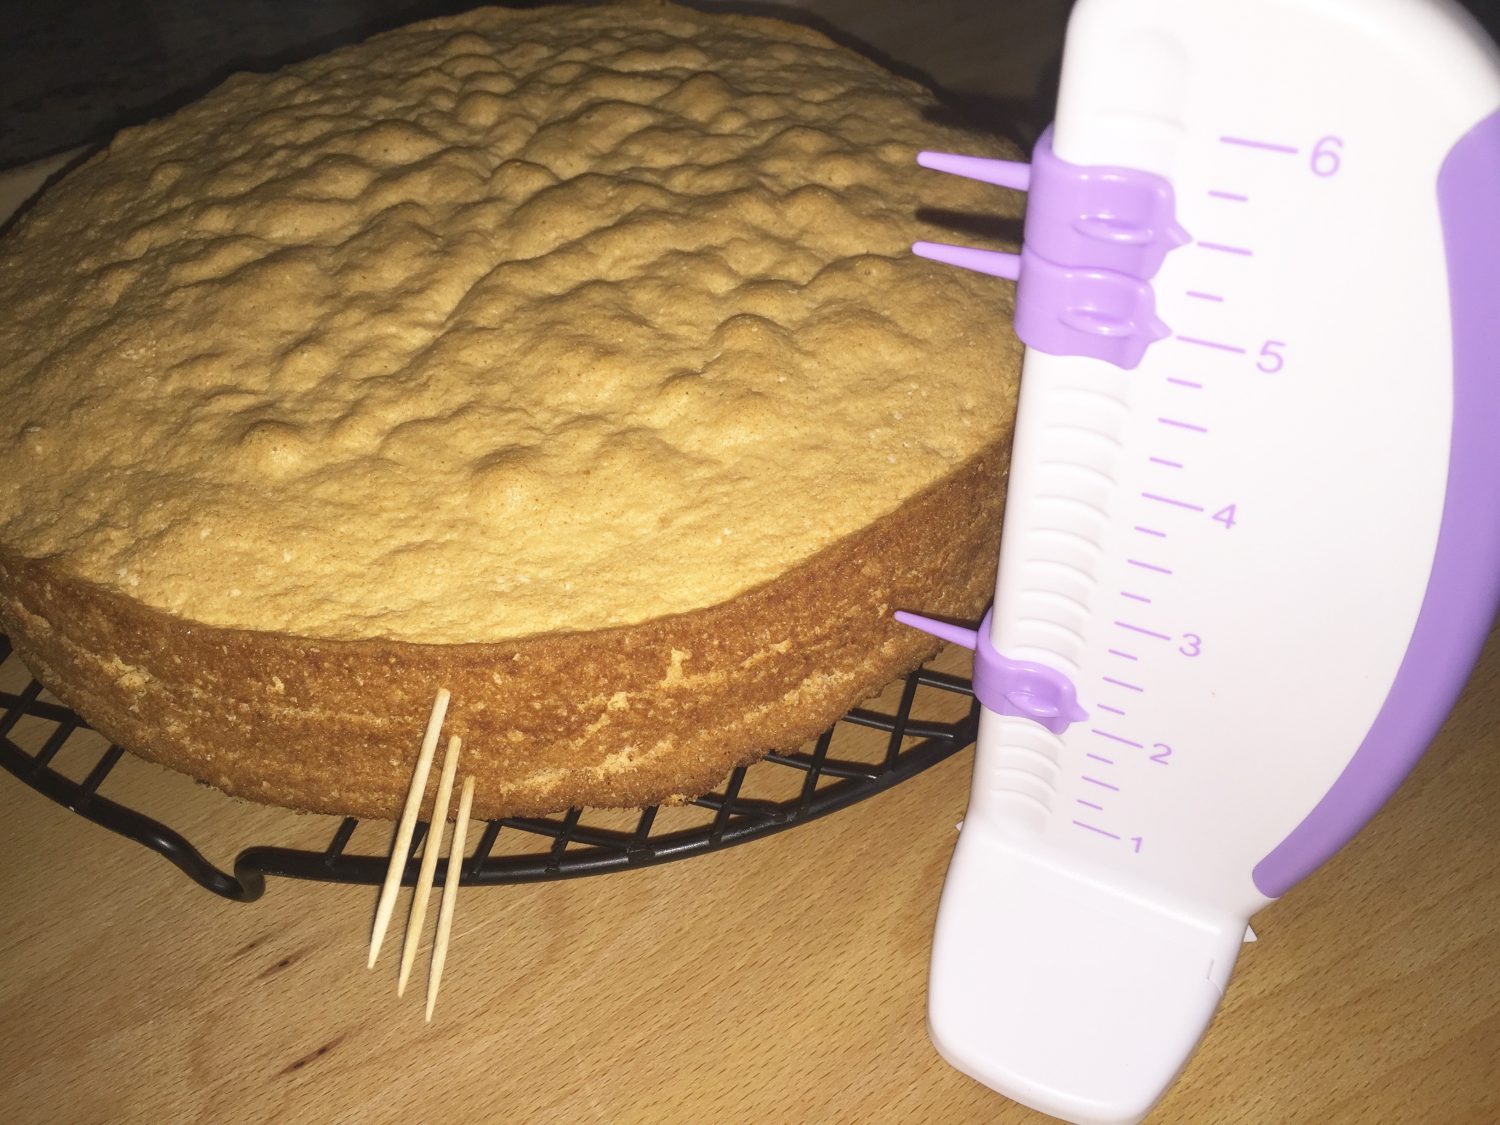
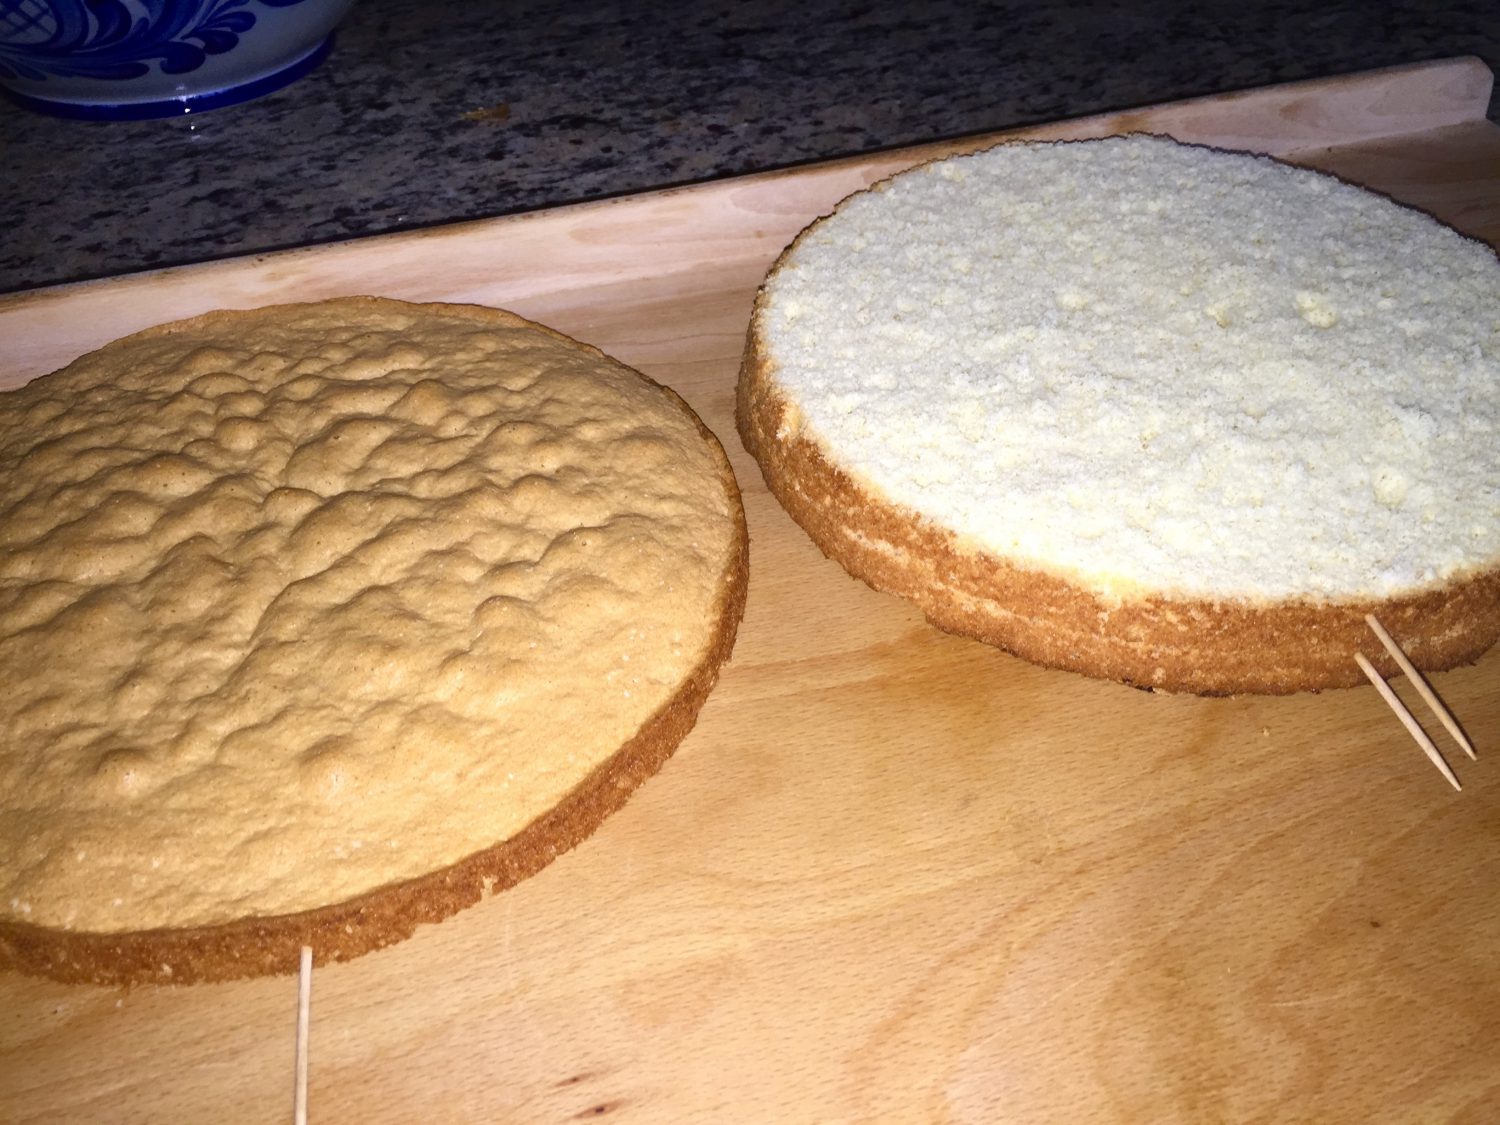
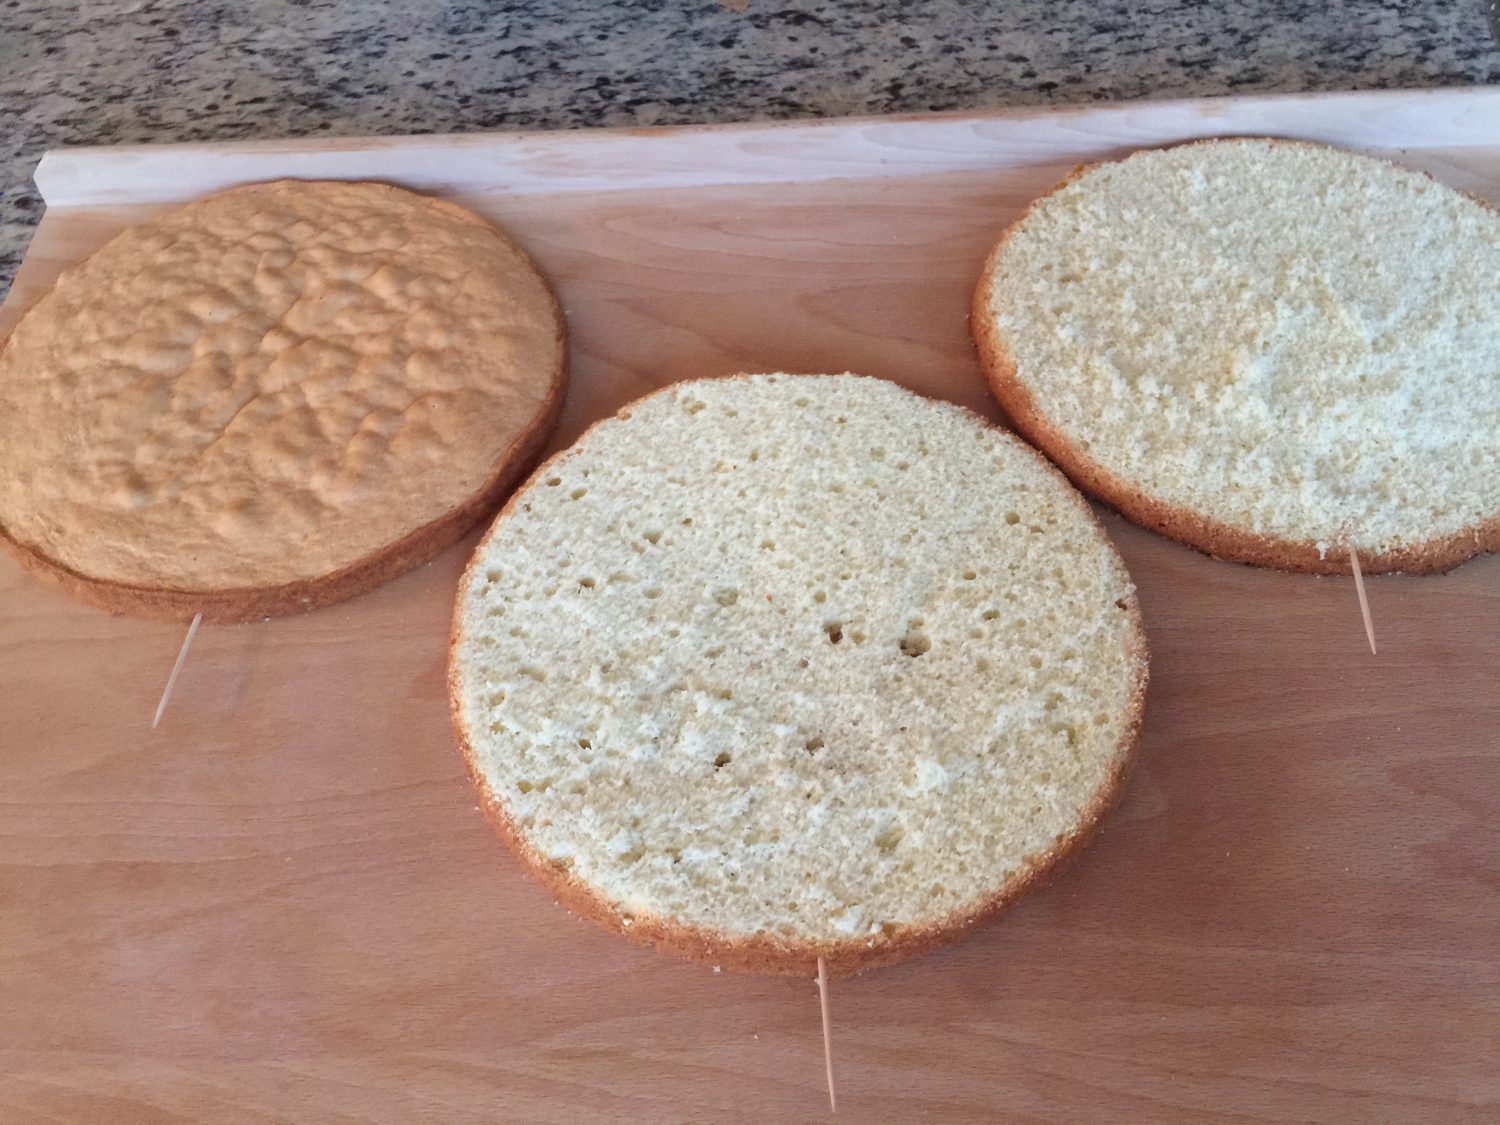
Fill the batter in a buttered springform pan, 11 inches in diameter. Preheat your oven to 180°C–190°C (350°F–375°F) and place it on the middle rack when ready. Bake for about 25 - 30 minutes. Take the cake out with the help of a cake lifter and slide it on a cooling rack. After the cake is cooled down, use three toothpicks on the side of the cake to mark the center. (See picture below.) Use a cake marker to draw a line for slicing the cake across in three equal pieces.
[Click pictures to enlarge.]


Ingredients for filling:
- 750 ml (25.36 oz) of milk
- 1 1/2 package of Dr. Oetker Chocolate Pudding (OR) Jell-O Chocolate Cook & Serve
- 8 tablespoons of sugar
- 1 tablespoon of cacao
- 3 tablespoons of instant coffee
- 375 g (13.22 oz) of butter
Ingredients for decoration:
- Chocolate sprinkles
- Chocolate coffee beans
- 118 ml (4 oz) of heavy whipping cream
- 1 package of Dr. Oetker Whip It
Preparation for buttercream:
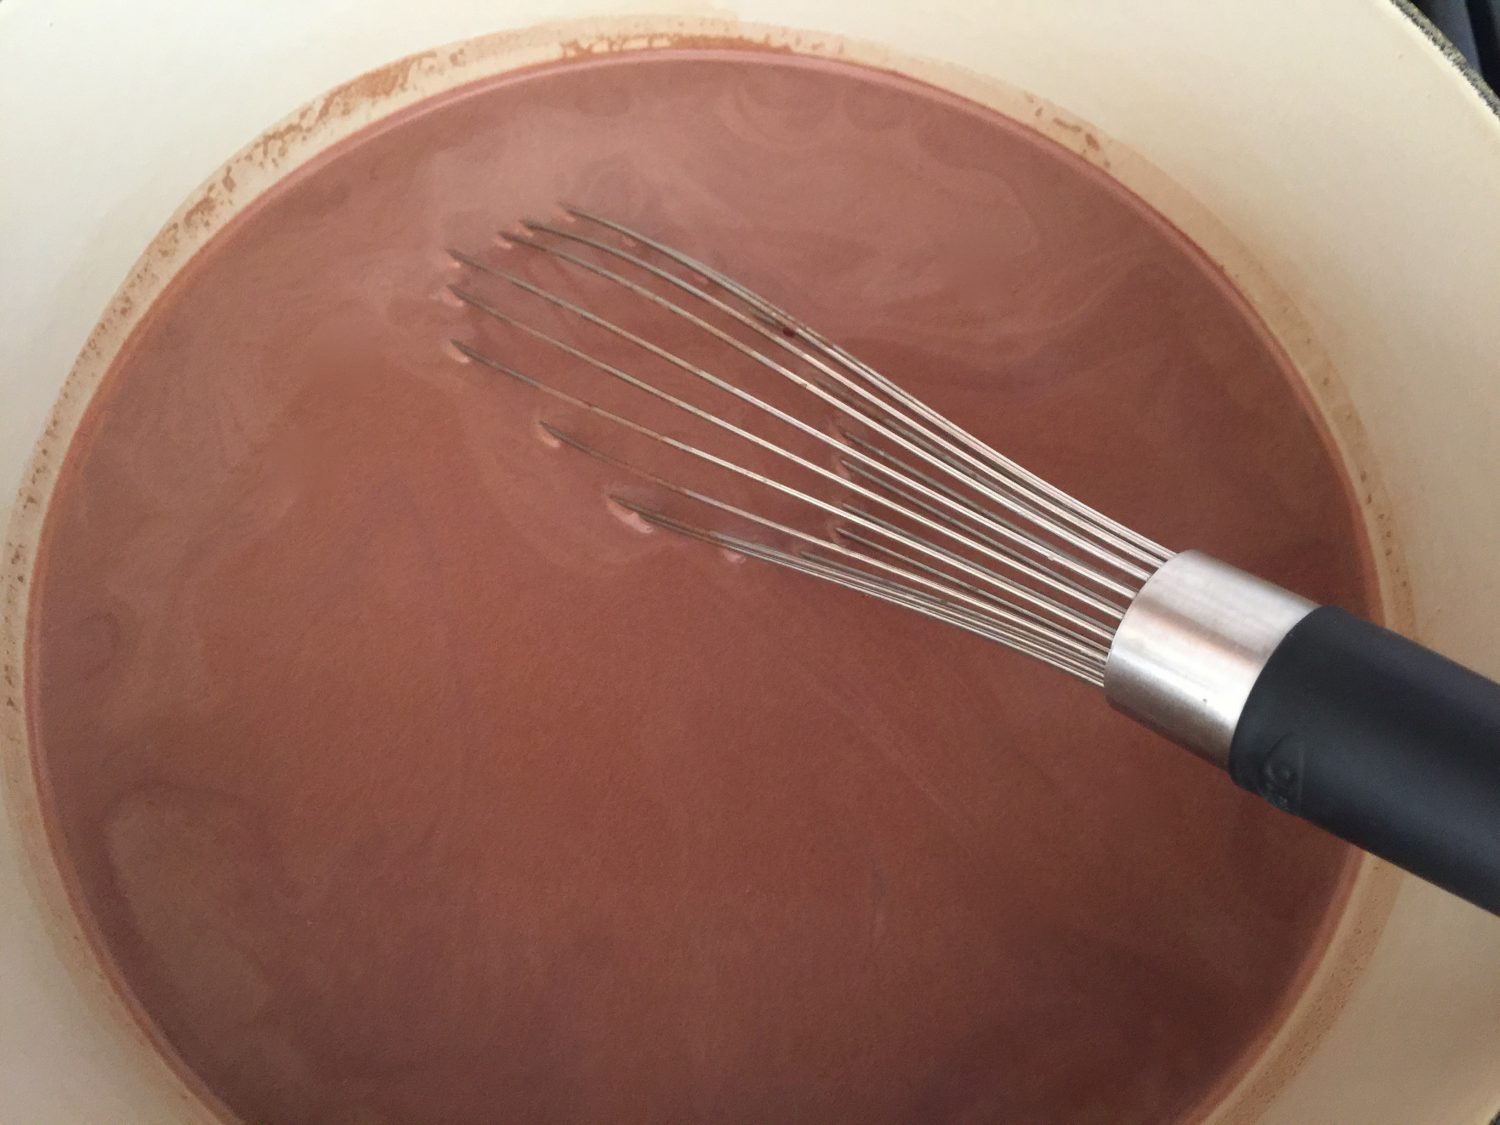
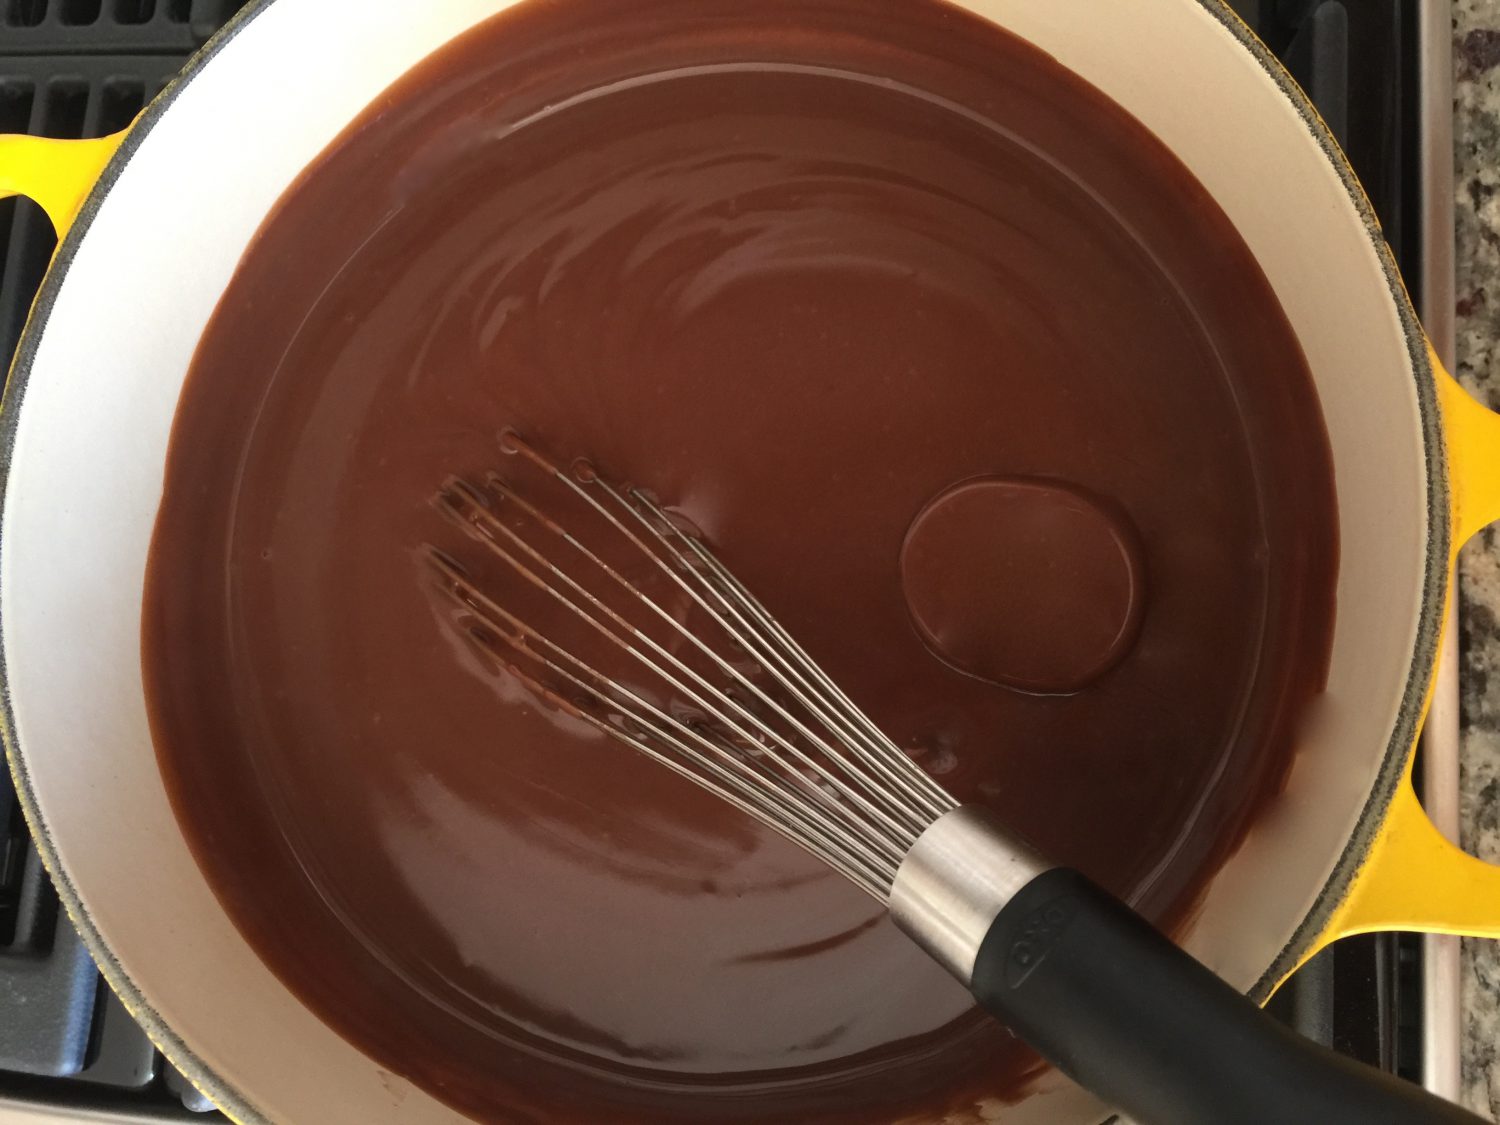
Pour the milk into a saucepan. Add the pudding powder, sugar, cacao, and instant coffee to it and stir with a whisk until all ingredients are dissolved. Place it on the stove top and heat it up slowly (while continually stirring) until it comes to a boil. Keep stirring with the whisk, so that the pudding will not stick to the bottom of the saucepan. When the pudding comes to a boil, immediately remove it from heat and fill the contents in a glass or metal bowl. Take some cellophane wrap, run it under some water, and cover the buttercream with it. This will help to avoid skin developing on the surface. Put it aside and let it cool down. Don’t place the pudding in the refrigerator.
[Click pictures to enlarge.]


Use a handheld mixer to beat the soft butter. Slowly add the cooled down buttercream to it. If the butter and pudding have different temperatures, the buttercream will coagulate. In this case, you can either have the bowl with the buttercream submerged in a larger bowl with warm water and continue mixing, OR you can place the buttercream in the microwave for about 30–40 seconds and continue mixing it after you took it out.
Preparation for decoration:
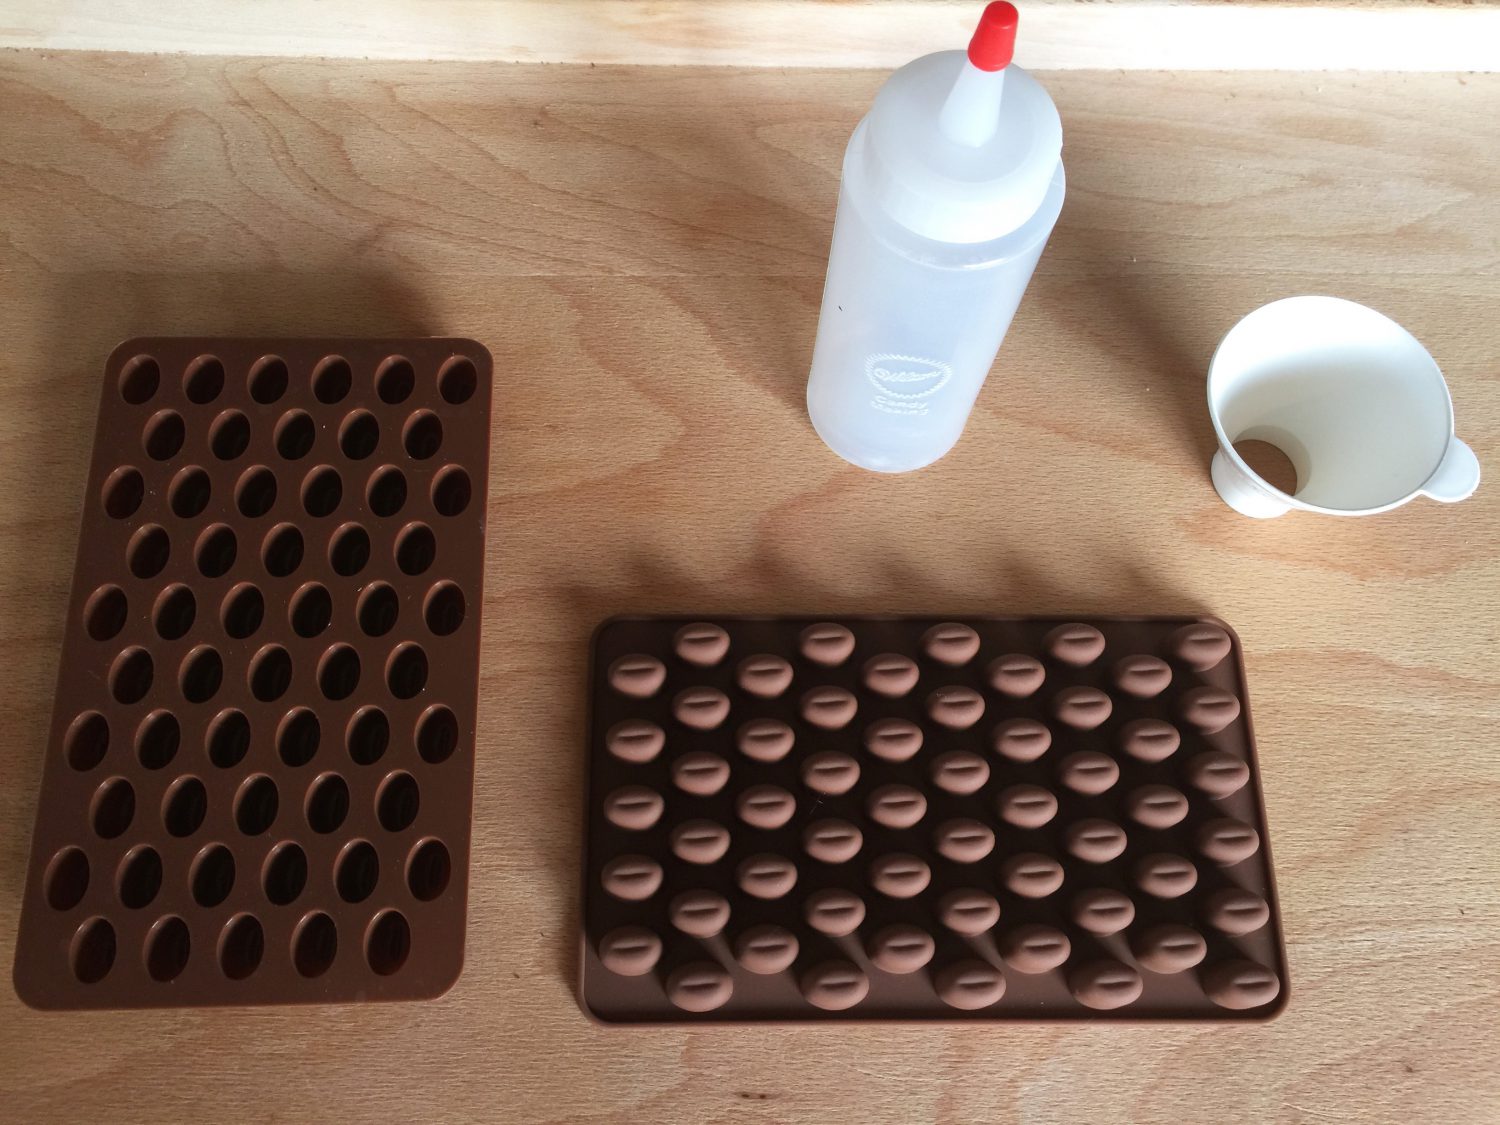
If you would like to use chocolate coffee beans as decoration but can not find them, use a silicone mold (pictured on the left below) which you can get at Amazon.com and make your own. To make them, use about 100 g (3.52 oz) of baker’s dark chocolate and melt it in a bain-marie. If it’s not liquid enough, add a knife tip of shortening to it. Using a funnel, fill the liquefied chocolate in a squeeze bottle and then fill the coffee-bean mold. Place the mold in the freezer for about an hour so it will hardened. Chocolate coffee beans should be easy to remove.
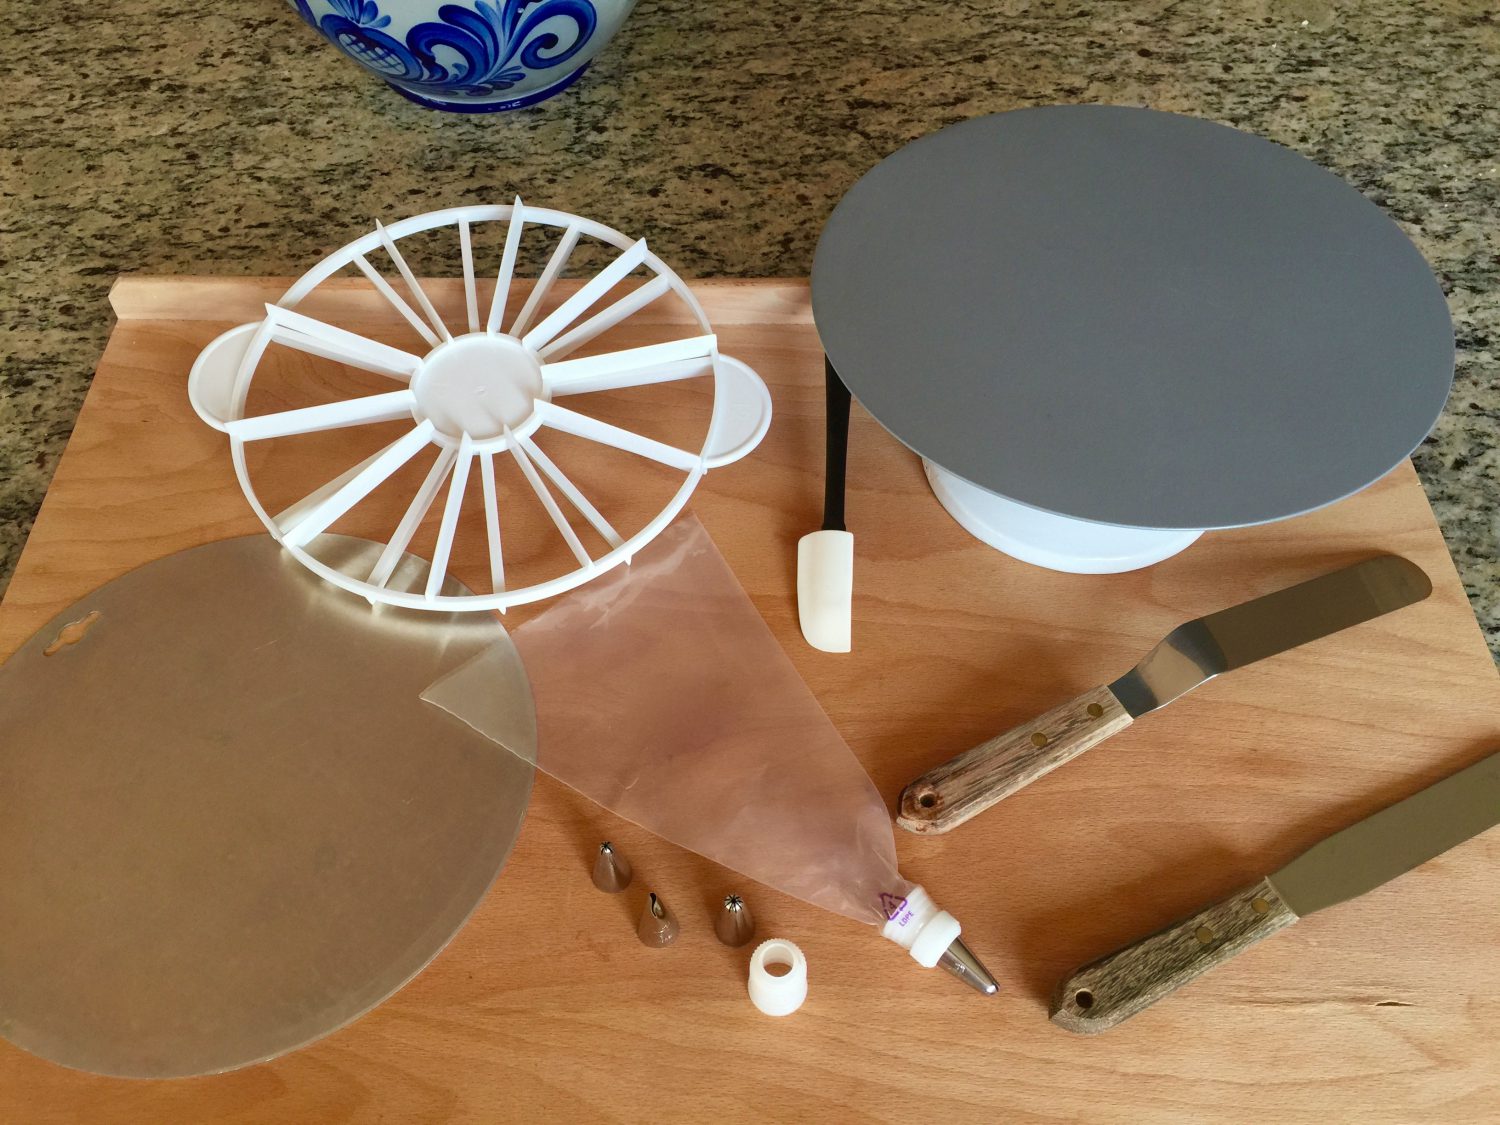
Pictured on the right are gadgets I used to decorate the cake. The gadgets ARE NOT necessary to decorate the cake, but will make the process easier.


Decorating:
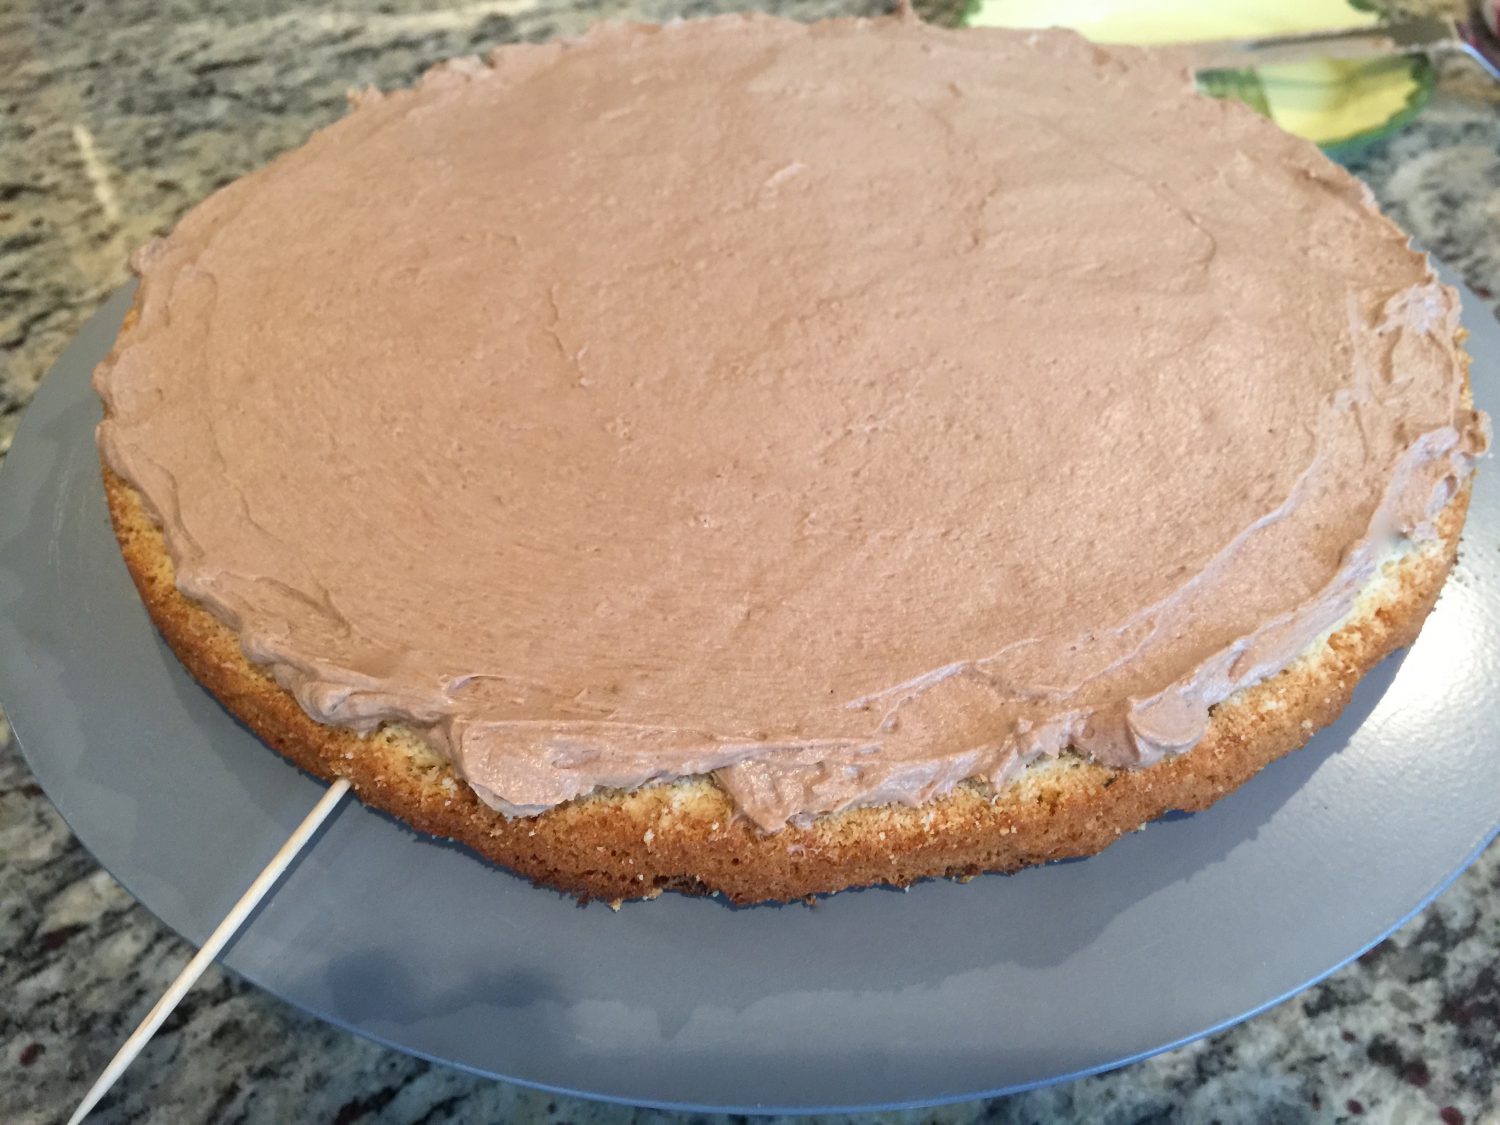
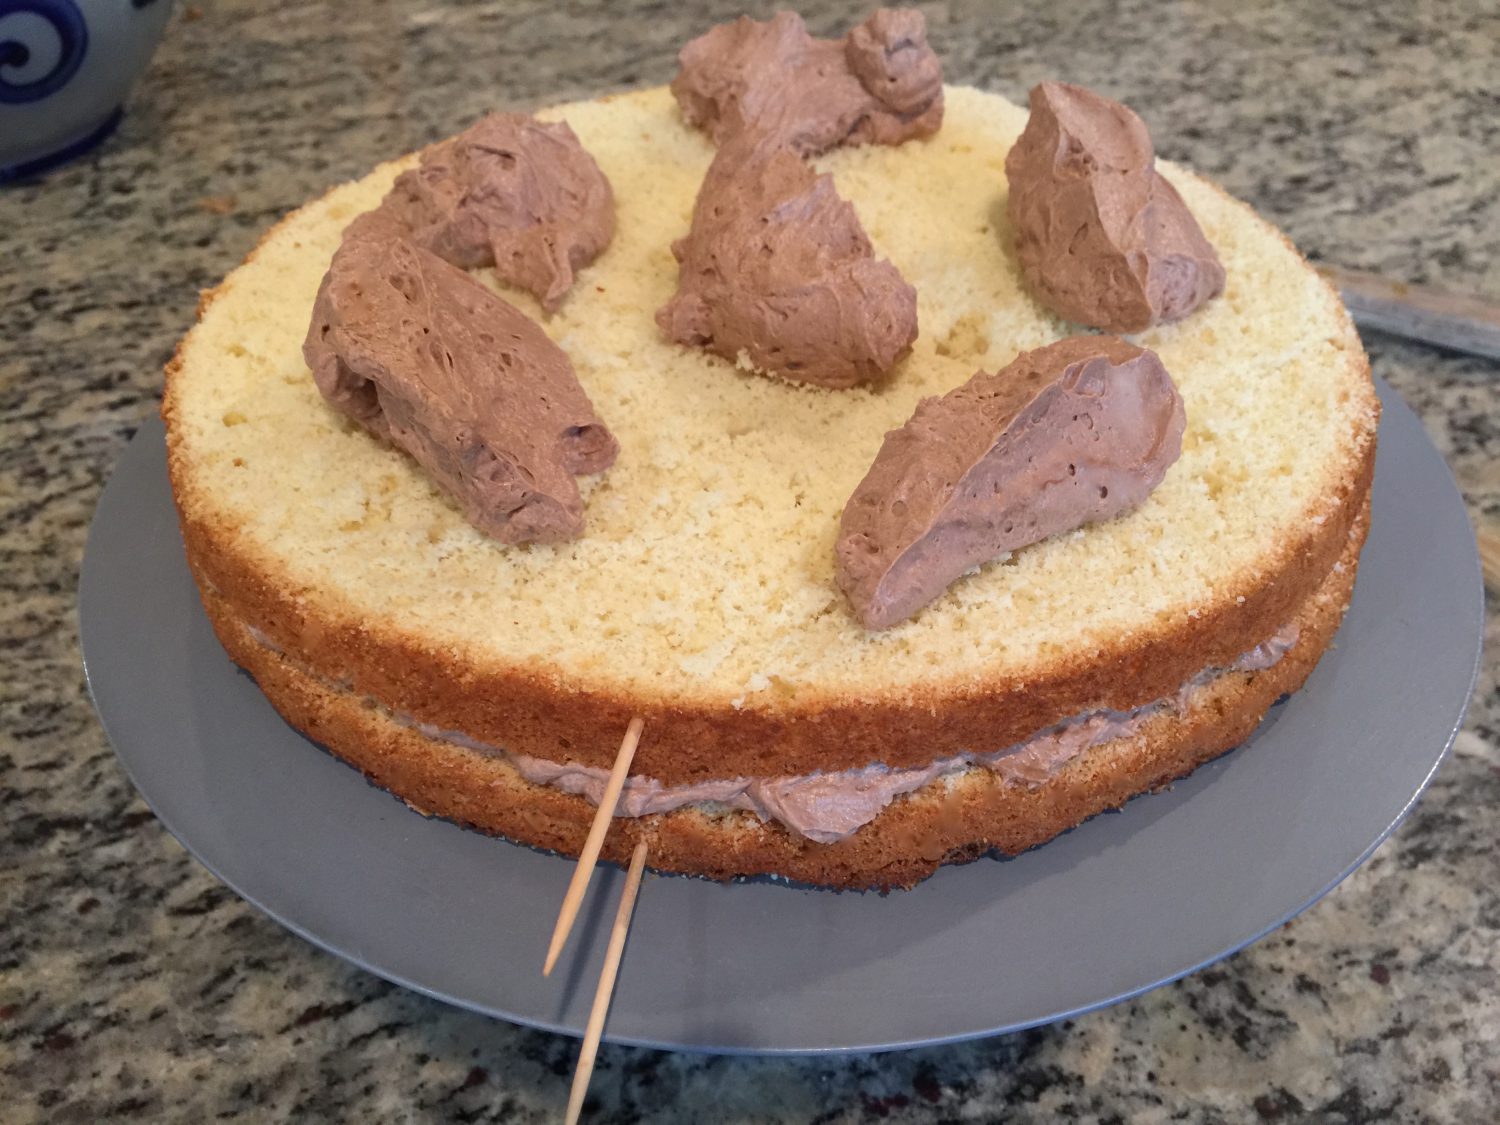
Leave the toothpicks in and slice your cake twice along the marked lines. Place the bottom piece on a turntable. Use a quarter of your buttercream and spread it on the cake with the back of an angled spatula.
[Click pictures to enlarge.]


Add the middle layer of the cake and repeat the spreading process. Make sure that the toothpicks line up. Add the top piece of your cake lining it up with the toothpicks. Before you start to decorate the sides, take the toothpicks out. Use a cake lifter to place under the cake and spread the buttercream on the sides using the back of an angled spatula. Make sure to move the cake lifter underneath the cake to the edges, which are not decorated. After finishing the sides, save about 6–8 tablespoons of the buttercream for final decorations. Spread the rest of the buttercream on top of the cake.
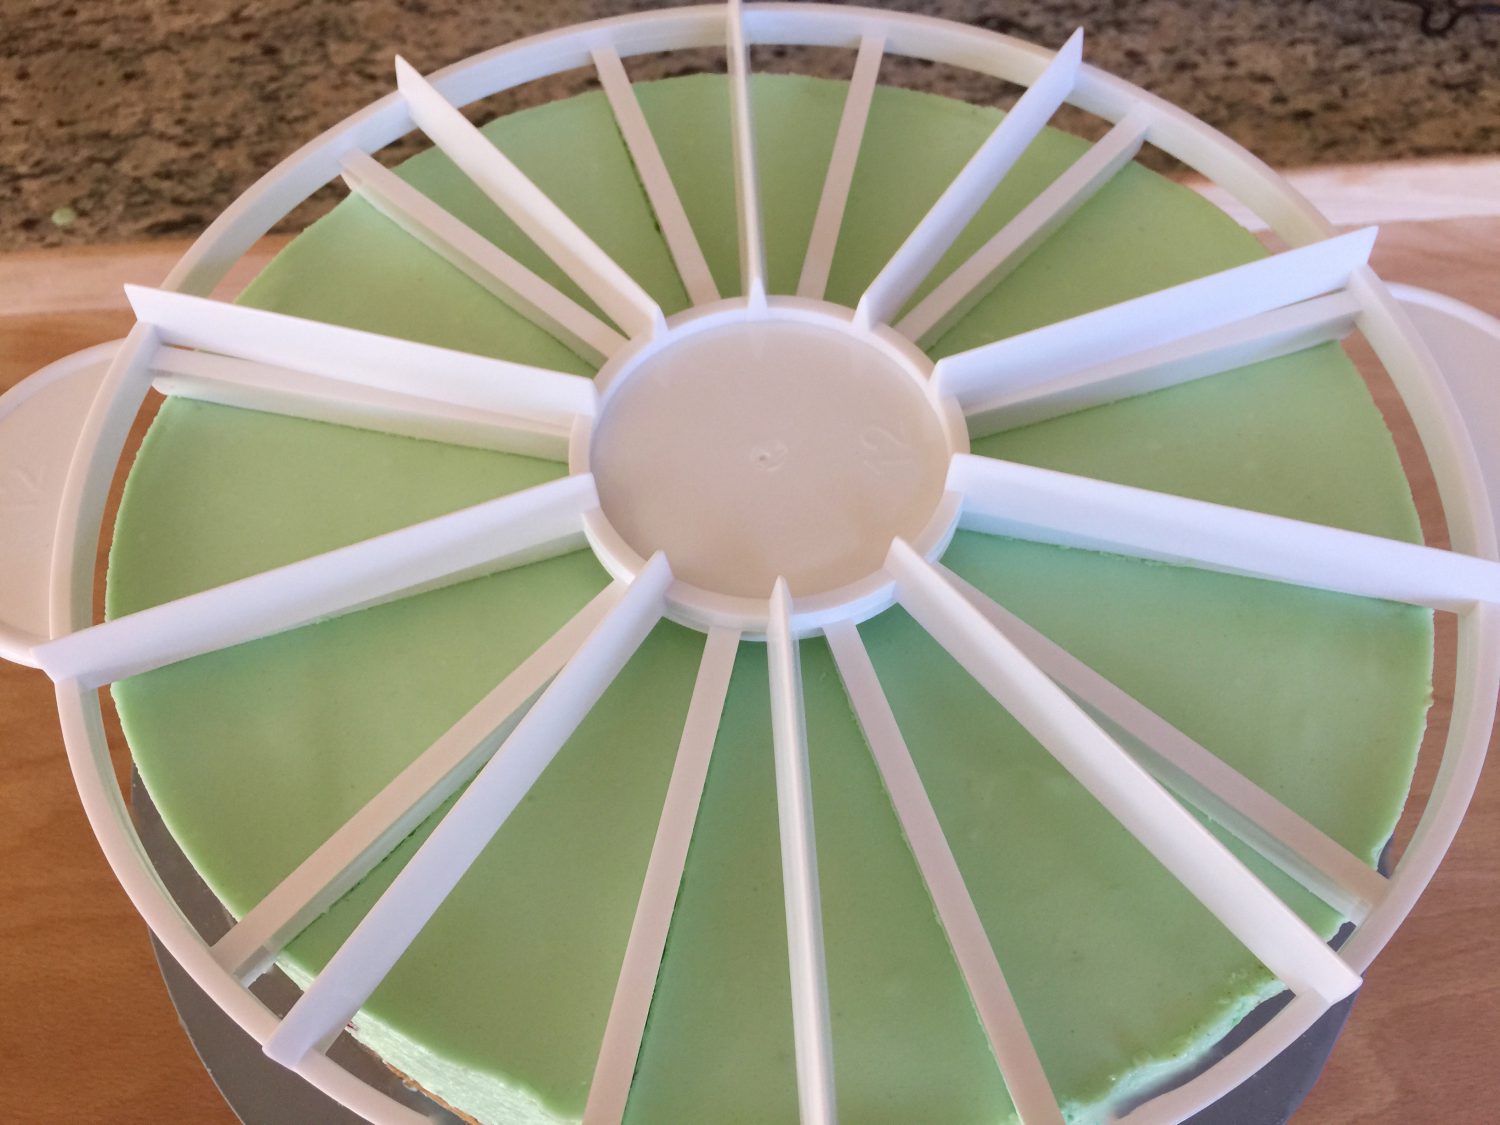
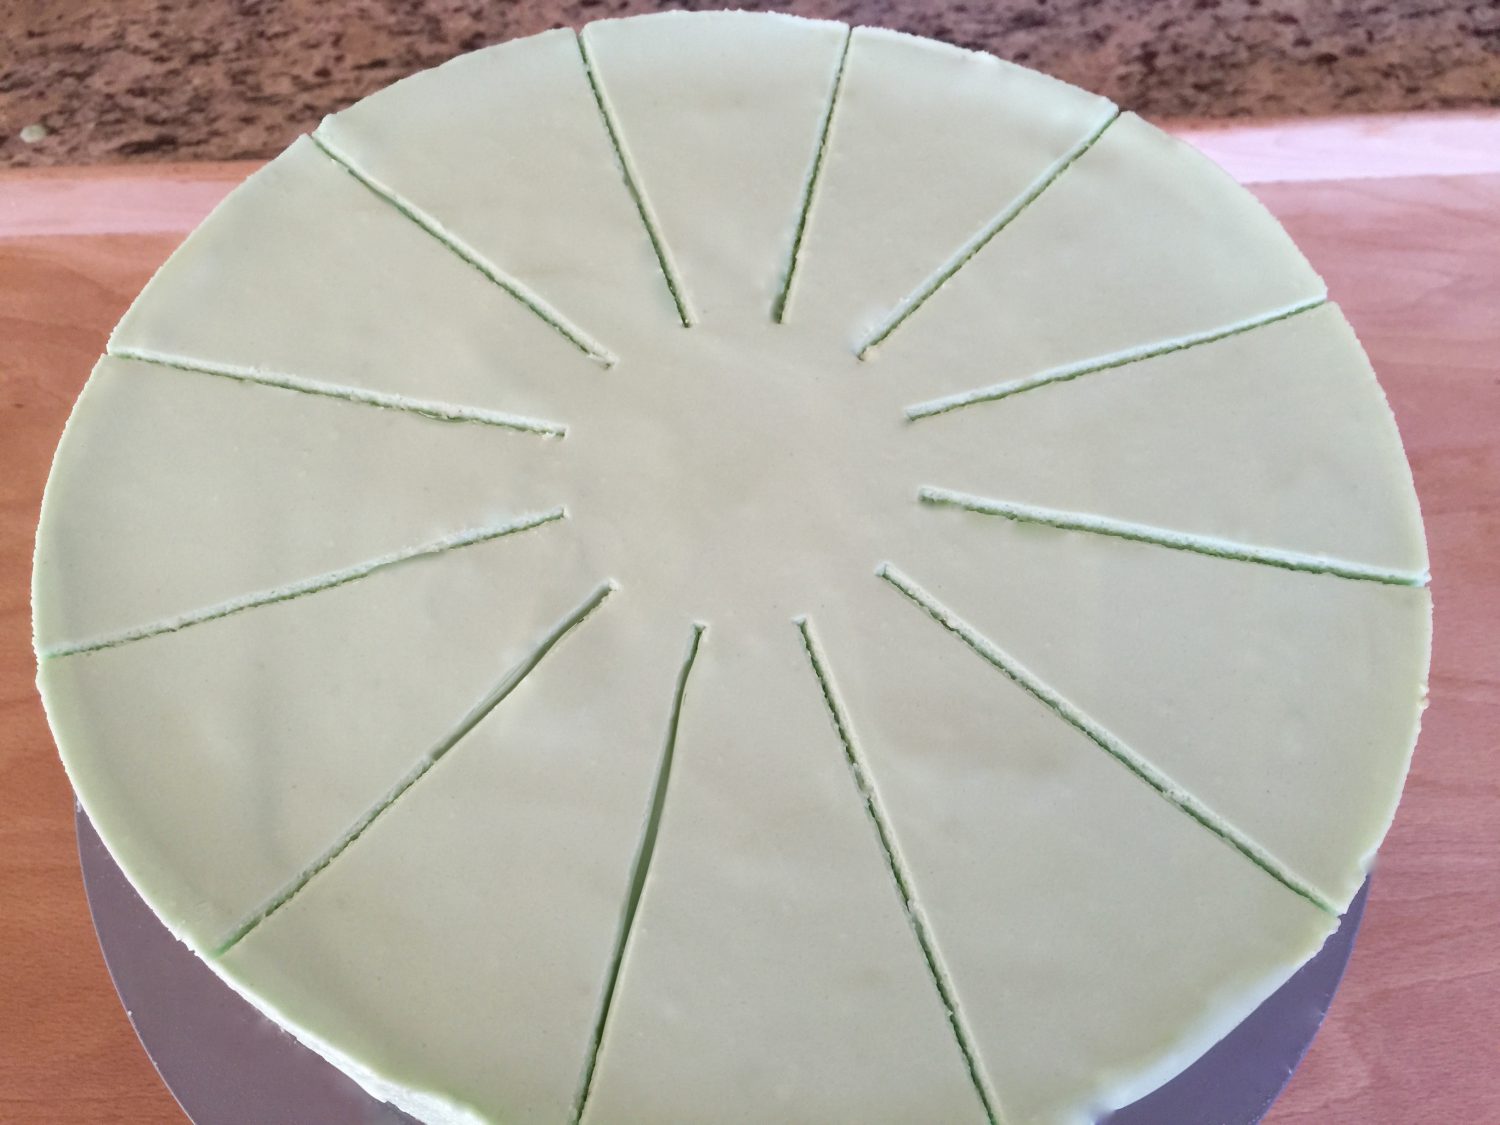
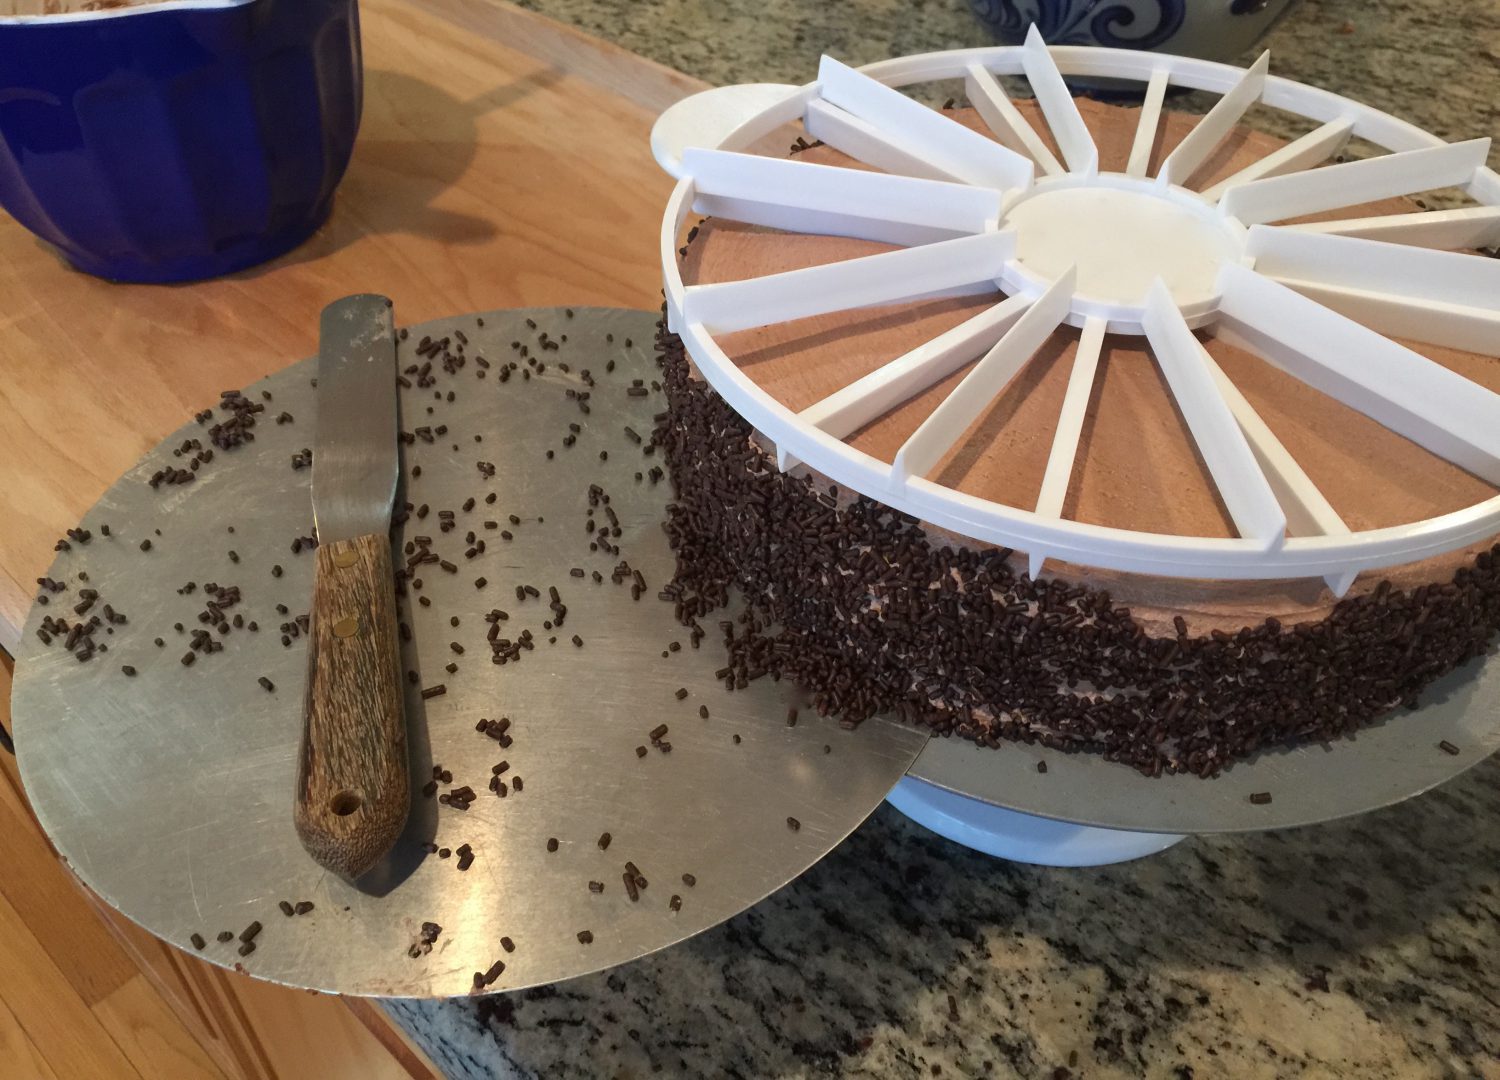
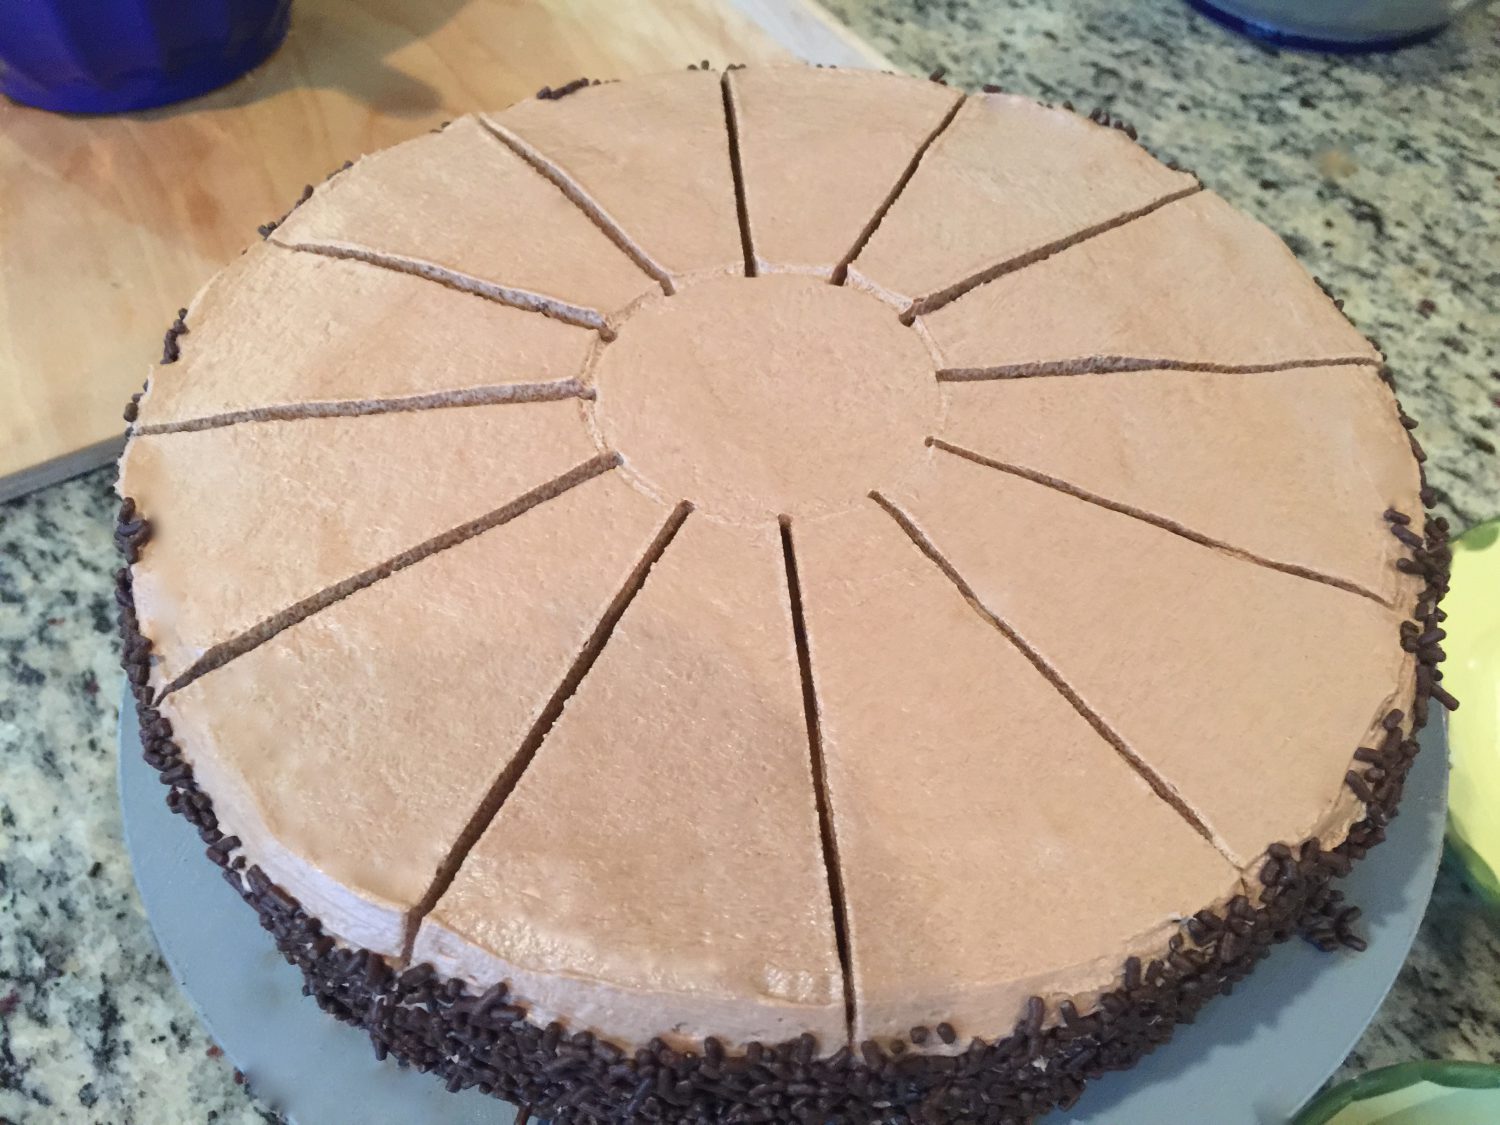
Before decorating the sides with the chocolate sprinkles, wipe the cake lifter with a paper kitchen towel. Place the cake lifter back underneath the cake. Use a straight spatula to decorate the edges with the chocolate sprinkles. Place the chocolate sprinkles in a piled line around the cake close to the edges. Use the straight spatula to lift them and carefully stick them to the sides starting from the bottom to the top. Use your cake divider (10 and 12 slices) to mark the cake on top. Place your cake on a nice plate and place it in the refrigerator or freezer for about 30 minutes in the freezer. (It’s always easier to do the final decoration on top when the cake has hardened a little.
[Click pictures to enlarge.]


Final decoration:
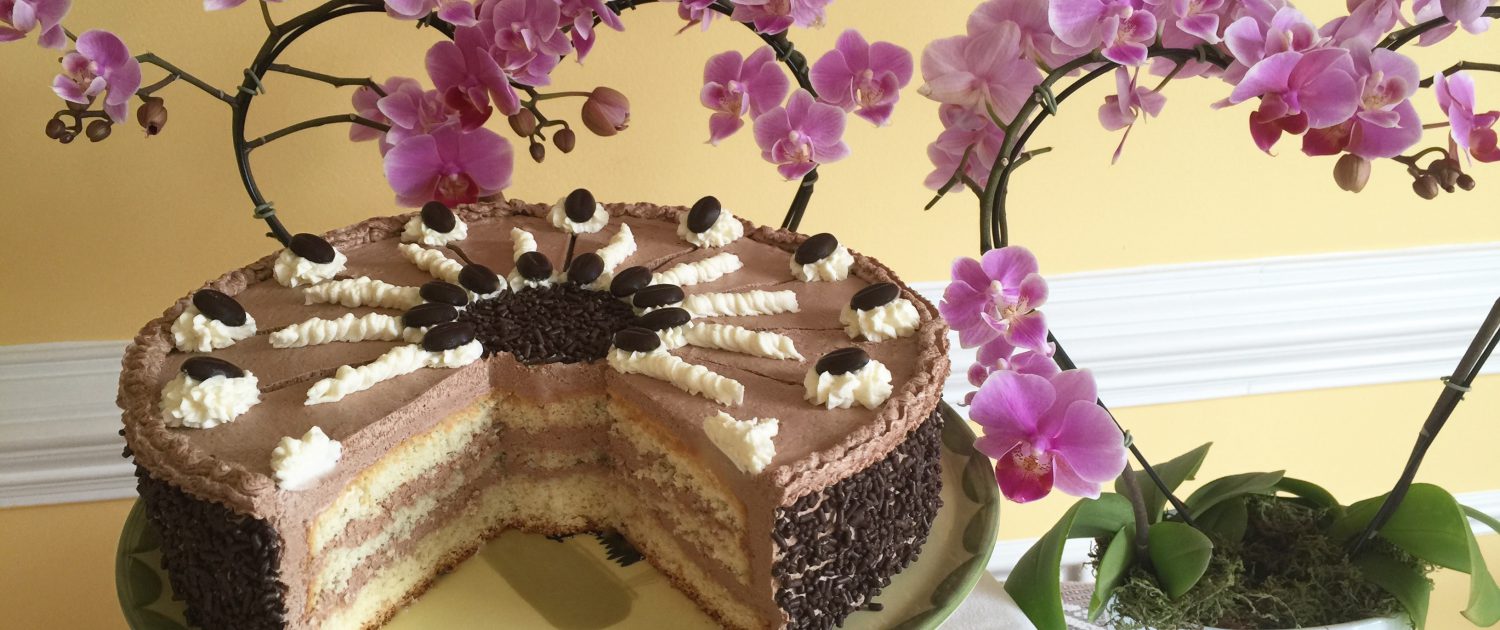
Use your handheld mixer and beat the whipping cream. Add 1 package Dr. Oetker Whip It to stabilize the whipped cream. Fill two cake decorating bags with the buttercream and the whipped cream. Add decoration tips with a coupler. Begin decorating as you wish—starting from the center of the cake to the outside. You’re all DONE. Enjoy!